7 Most Know Portrait Lighting Setups for Photographers
Essential Portrait Lighting Techniques
– 5 min read


Essential Portrait Lighting Techniques
Portrait photography is a dynamic art form, and the key to creating stunning portraits lies in mastering various lighting setups. In this comprehensive guide, we will explore seven different portrait lighting setups. Whether you're a seasoned photographer or a beginner looking to enhance your portrait skills, this guide will empower you with the knowledge and techniques needed to achieve captivating results.
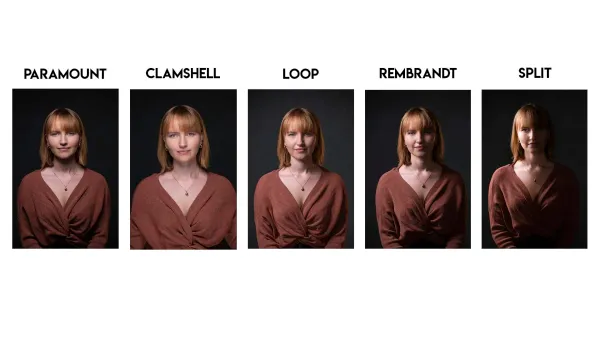
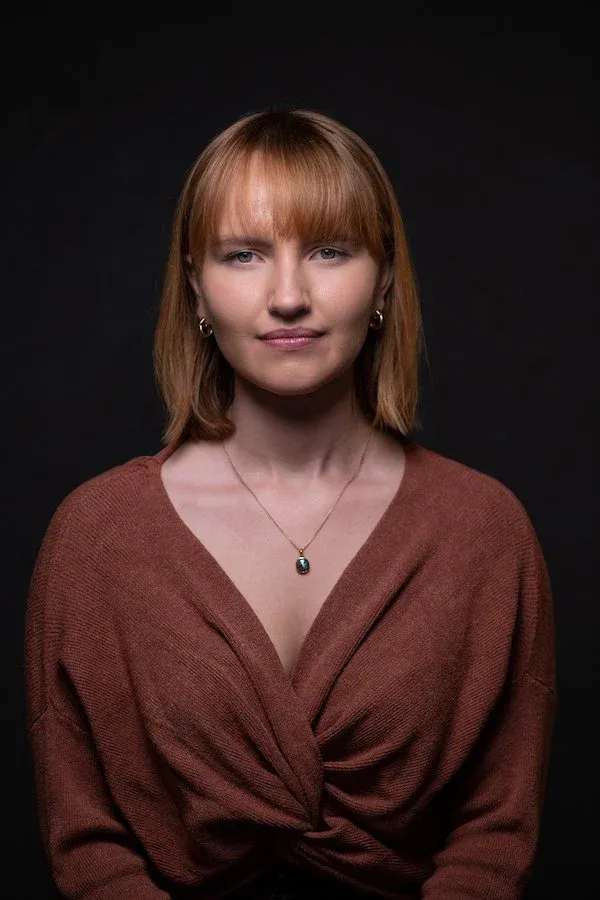
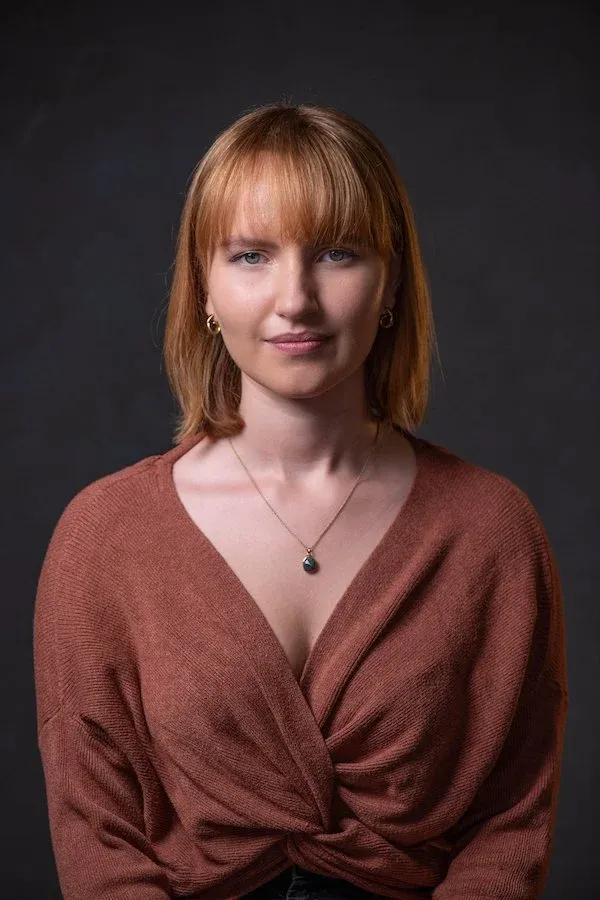
Paramount lighting—also called Butterfly lighting—is a timeless and refined portrait lighting style. This setup involves placing the main light source directly in front of the subject and slightly above eye level, angled down at approximately 45 degrees. The result is a soft shadow under the nose that mimics the shape of a butterfly, along with a more defined shadow beneath the chin.
This lighting technique is especially effective for highlighting the cheekbones and jawline, making it a favorite in beauty and glamour photography. It delivers a polished, flattering effect that enhances facial structure while keeping the overall look clean and elegant.
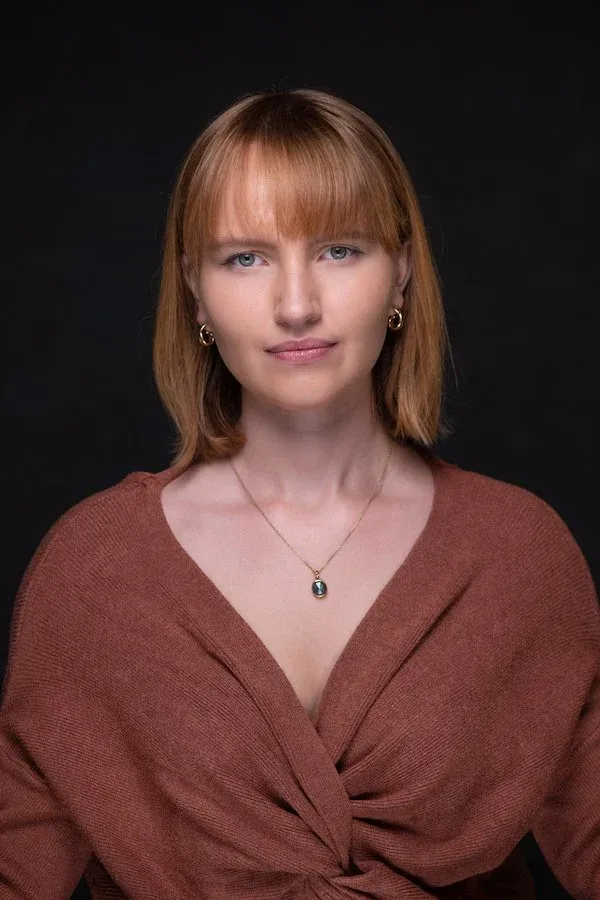
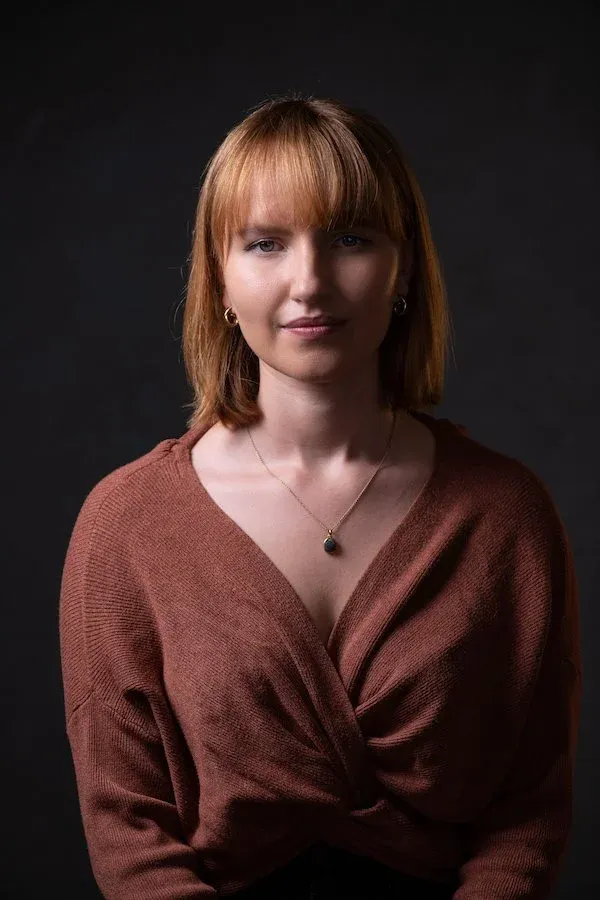
Clamshell lighting is a go-to setup for achieving smooth, balanced illumination in portrait and beauty photography. This technique uses two light sources: a key light placed slightly above and in front of the subject, and a reflector or secondary light positioned below the face. The upper light highlights the facial features, while the lower bounce light fills in shadows, especially under the eyes and chin.
The combination creates a soft, flattering glow that enhances the cheekbones and jawline without harsh contrast. Known for its clean, polished effect, clamshell lighting is perfect for headshots, beauty portraits, and any session where smooth skin tones and even lighting are desired.
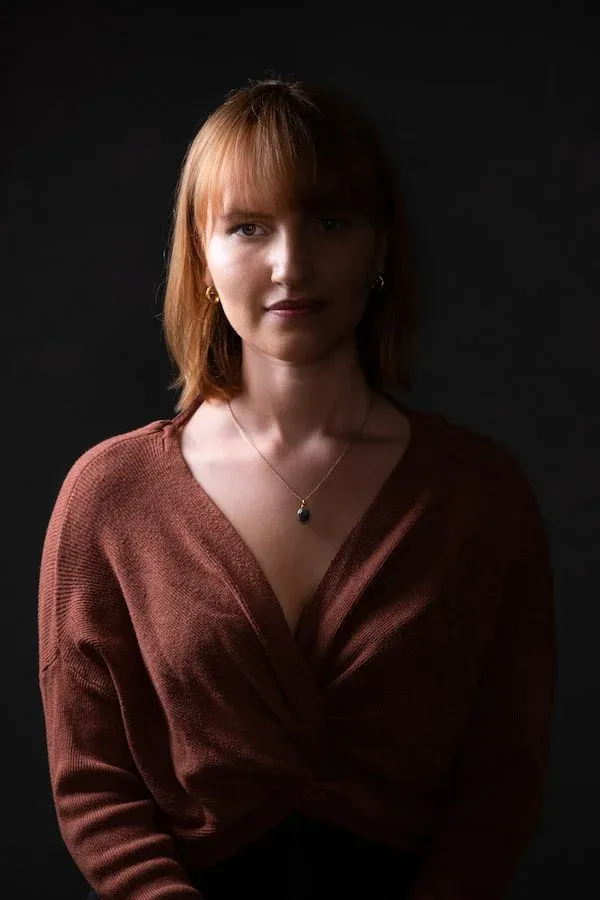
Loop lighting is a timeless and widely used portrait lighting setup that adds depth and dimension to the subject’s face. It’s named after the small, loop-shaped shadow that appears on the cheek opposite the light source—just beneath and to the side of the nose.
To create this effect, the main light is placed at roughly a 45-degree angle from the subject and slightly above eye level. This placement casts a soft, natural-looking shadow that defines facial features without being overly dramatic.
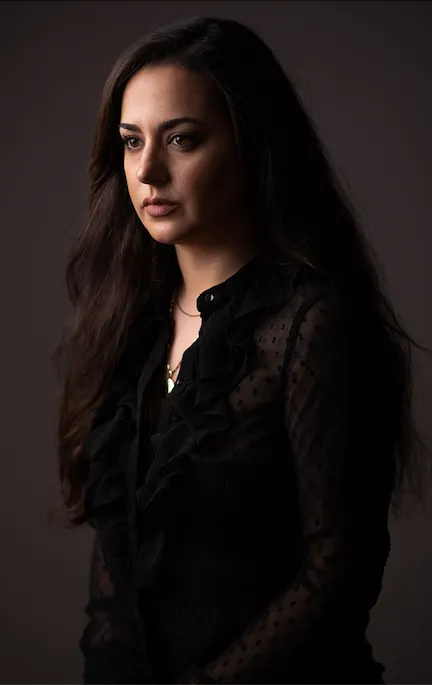
Rembrandt lighting is a dramatic and timeless portrait lighting technique named after the Dutch painter famous for his use of shadow and light. This setup is created by placing the key light at a 45-degree angle to the subject and slightly above eye level, allowing light to fall across one side of the face while casting a shadow on the other.
What makes this technique distinctive is the small, illuminated triangle of light that forms on the cheek opposite the light source—just under the eye. This triangle adds depth, contrast, and visual interest while still preserving flattering facial structure.
Often used to convey mood or emotion, Rembrandt lighting brings a cinematic, painterly quality to portraits, making it a favorite for photographers who want to evoke storytelling through light and shadow.
Split lighting is a bold and dramatic portrait technique that involves lighting only one side of the subject’s face while leaving the other side in shadow. To achieve this effect, the key light is placed directly to the side of the subject, creating a distinct division between light and dark across the face.
This setup adds depth, tension, and a sense of mystery to the portrait. It's often used to highlight strong facial features, express mood, or convey contrast and duality in the subject’s personality. Split lighting is ideal for character-driven portraits where emotion and intensity are key.
Setup 6: Short Lighting
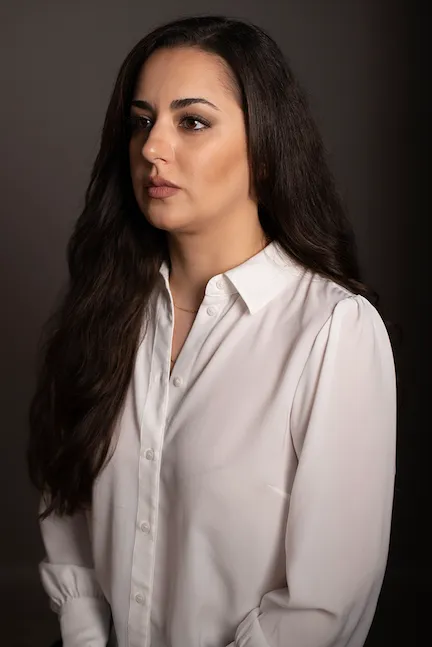
Short lighting is a technique where the key light is placed to illuminate the side of the subject’s face that is turned away from the camera. As a result, the side facing the camera falls into shadow, creating a sculpted, dimensional look.
This approach emphasizes facial contours and enhances depth, making it ideal for adding drama or slimming down rounder face shapes. Short lighting is a go-to method when you want to define structure and create a more artistic or moody portrait.
Broad lighting is a portrait technique where the main light source is positioned to illuminate the side of the subject’s face that is turned slightly toward the camera. This results in the broader, more visible side of the face being well lit, while the opposite side falls into shadow.
This setup can make the face appear wider and is often used to emphasize facial features or create a sense of openness and presence. It’s a strong choice for portraits that aim to highlight detail, create visual impact, or bring a sense of drama through the use of contrasting light and shadow.
Fill and negative fill are crucial tools for controlling contrast and shaping mood in portrait photography. Fill light is used to soften shadows by adding light back into darker areas—often with a reflector or secondary light source—resulting in more balanced, flattering illumination. It’s especially helpful in creating a gentle, even tone across the face.
In contrast, negative fill does the opposite—it removes light to deepen shadows. By using black flags, v-flats, or light-blocking surfaces, photographers can enhance contrast and add dimension. This technique is ideal for dramatic or moody portraits that require strong shadow definition.
Mastering these tools—alongside the seven portrait lighting setups—will help you shape emotion, depth, and storytelling in your images. The art of lighting isn’t just technical—it’s creative. And it’s the key to turning portraits into powerful visual narratives.
Learn Boudoir Photography on BIB TV