8 Photography techniques for Boudoir in an Empty Space
Capture Dimensional Photos in an Empty Room

– 4 min read


Capture Dimensional Photos in an Empty Room
Photographing in an empty room can seem daunting—no props, no colors, no depth, and limited compositional tools. Without foreground or background elements, images often appear flat and uninspired. But with the right approach and creative techniques, even a bare space can become a playground for powerful, artistic imagery.
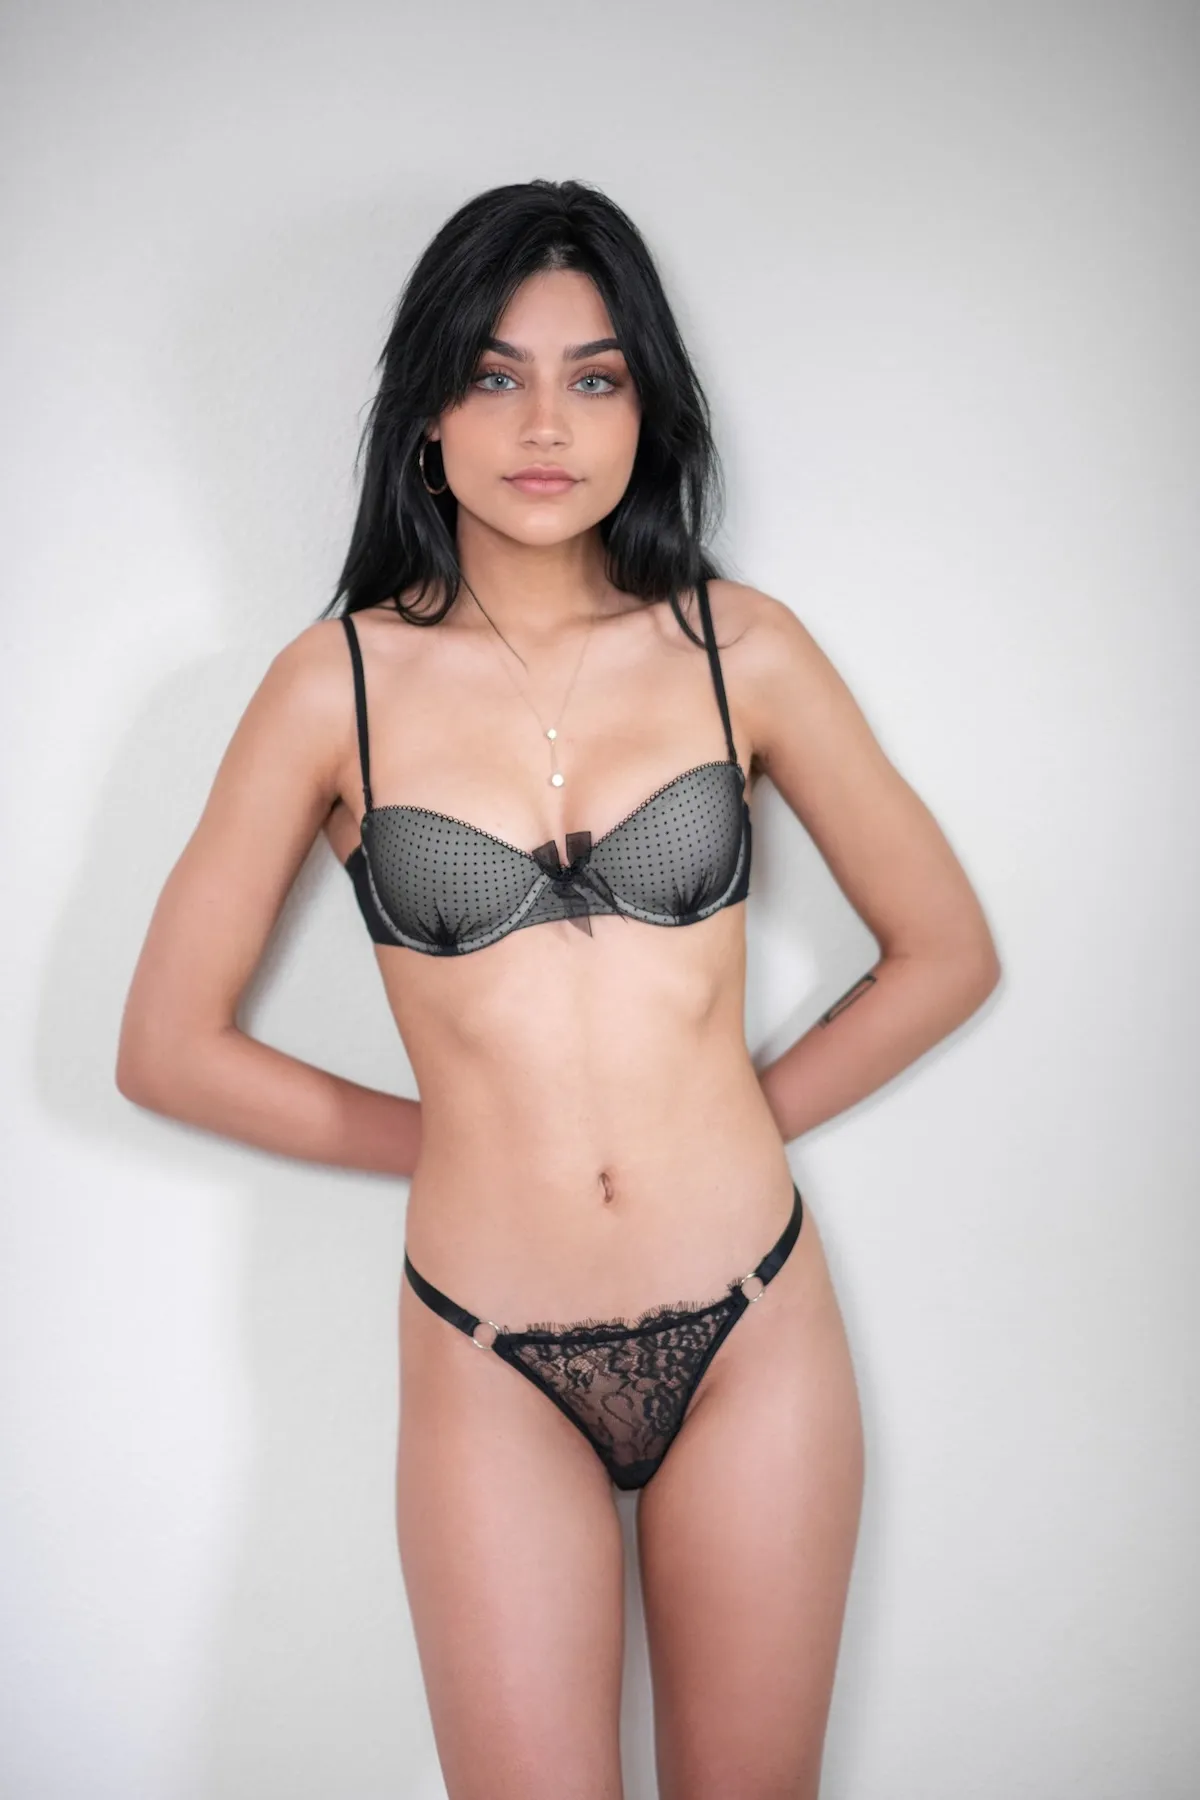
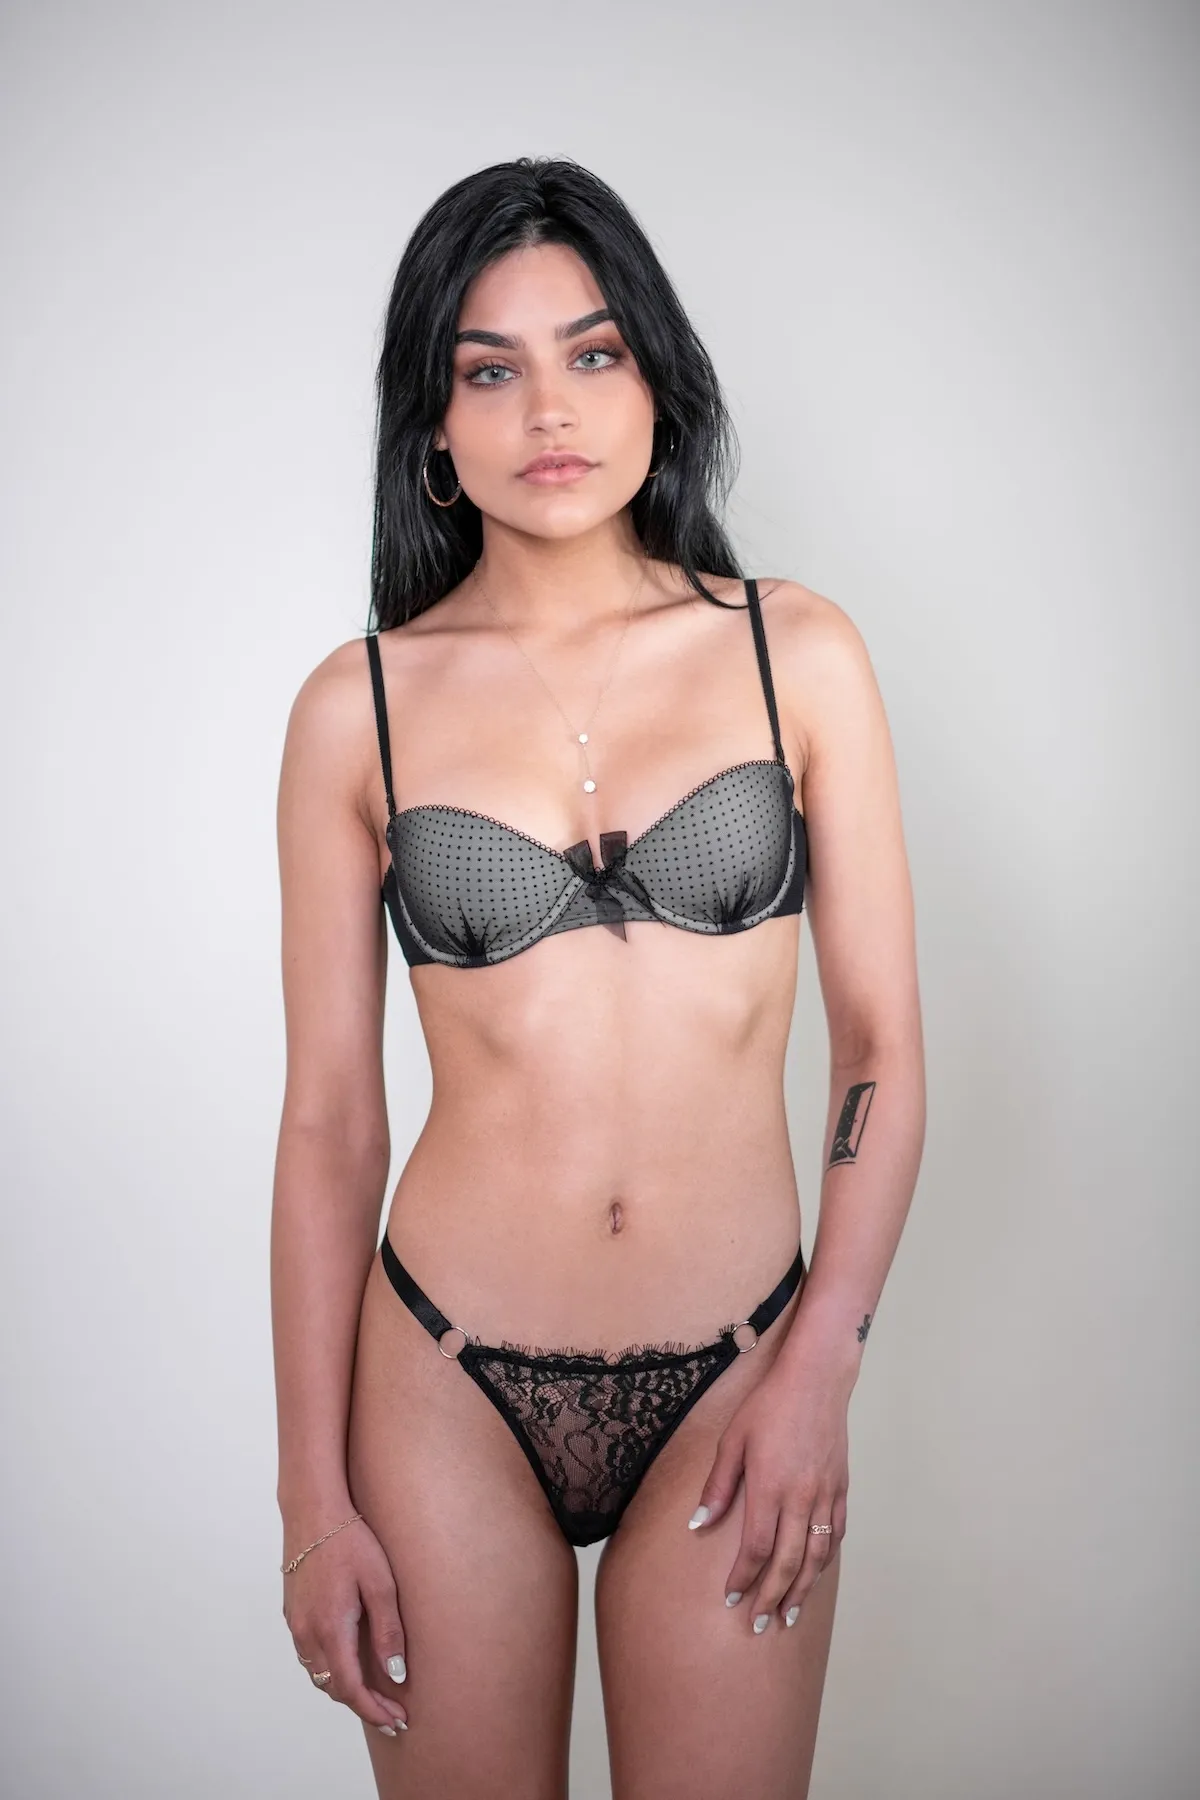
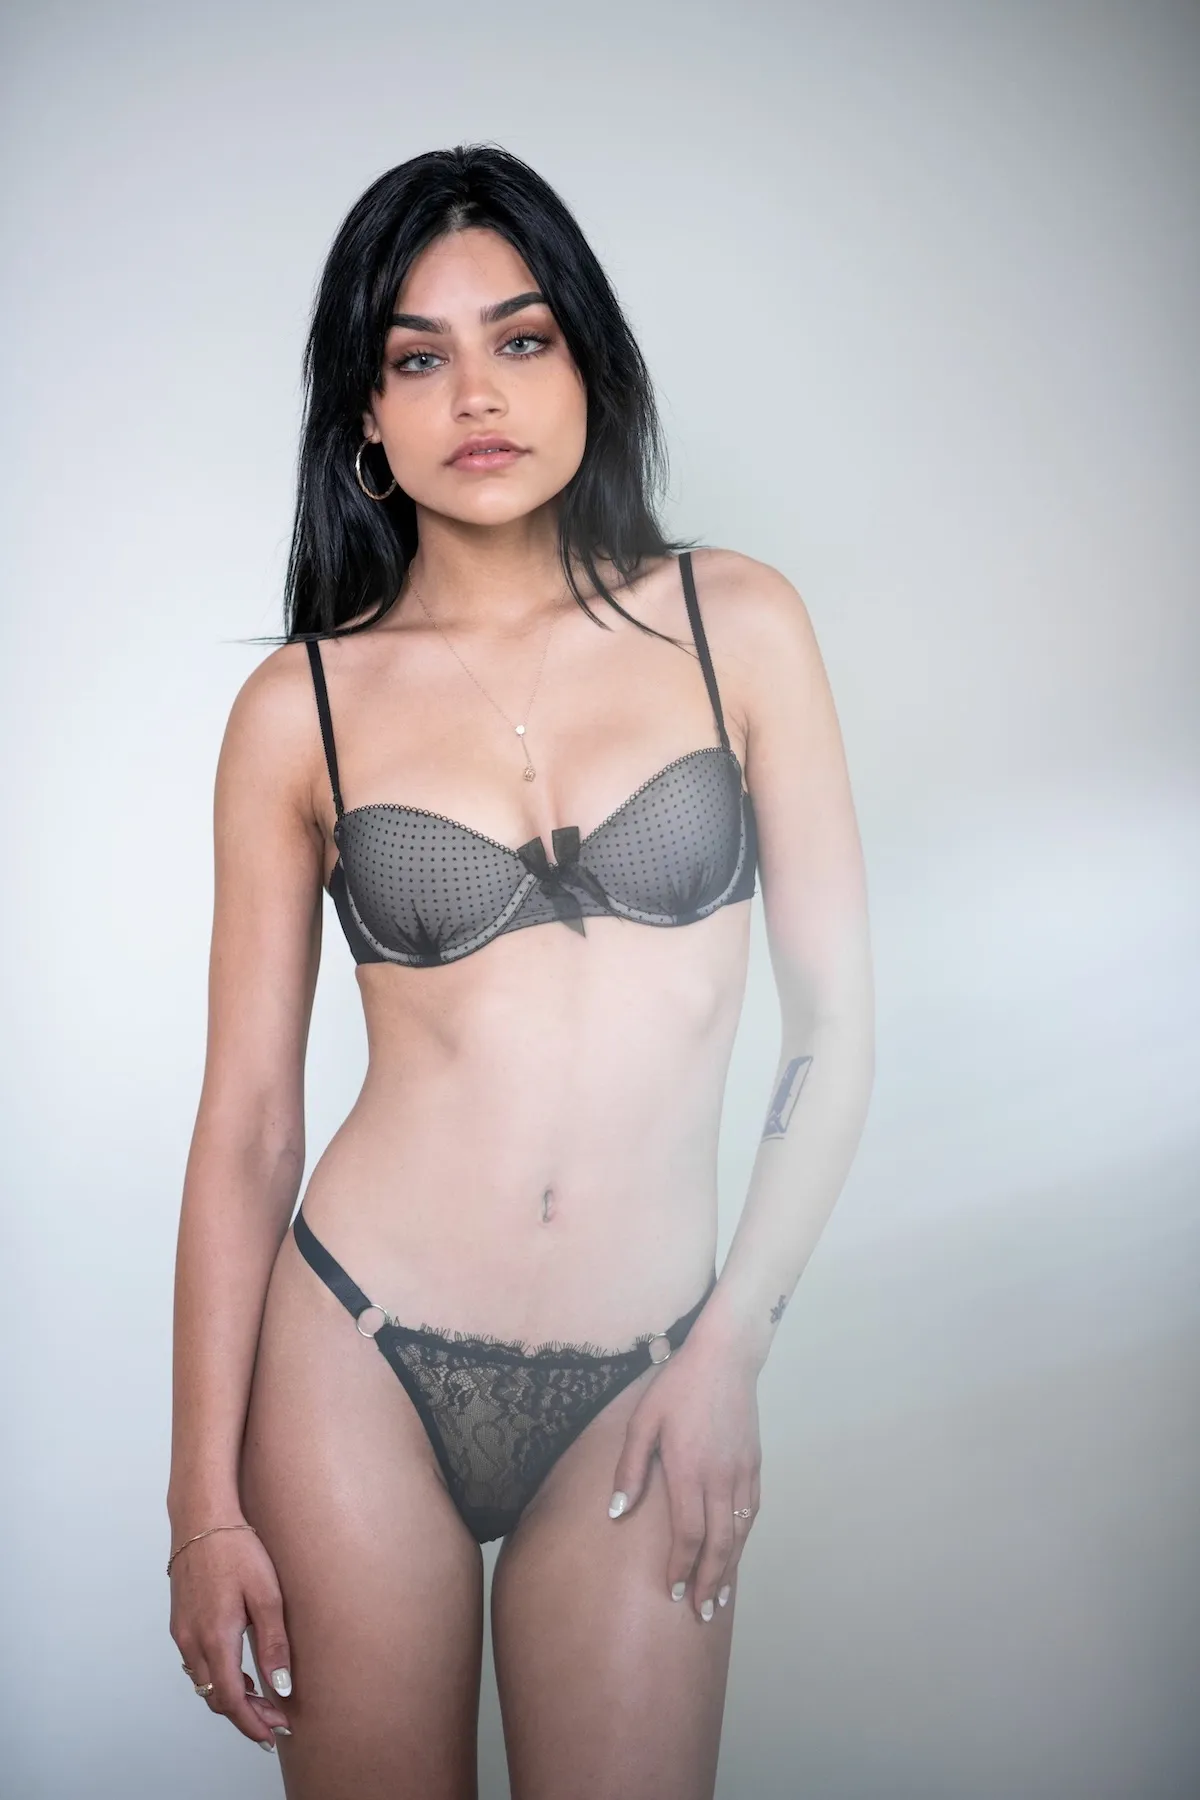
For this shoot, we brought our model Hannah into a completely empty room to demonstrate how to achieve depth and style in a minimalist space.
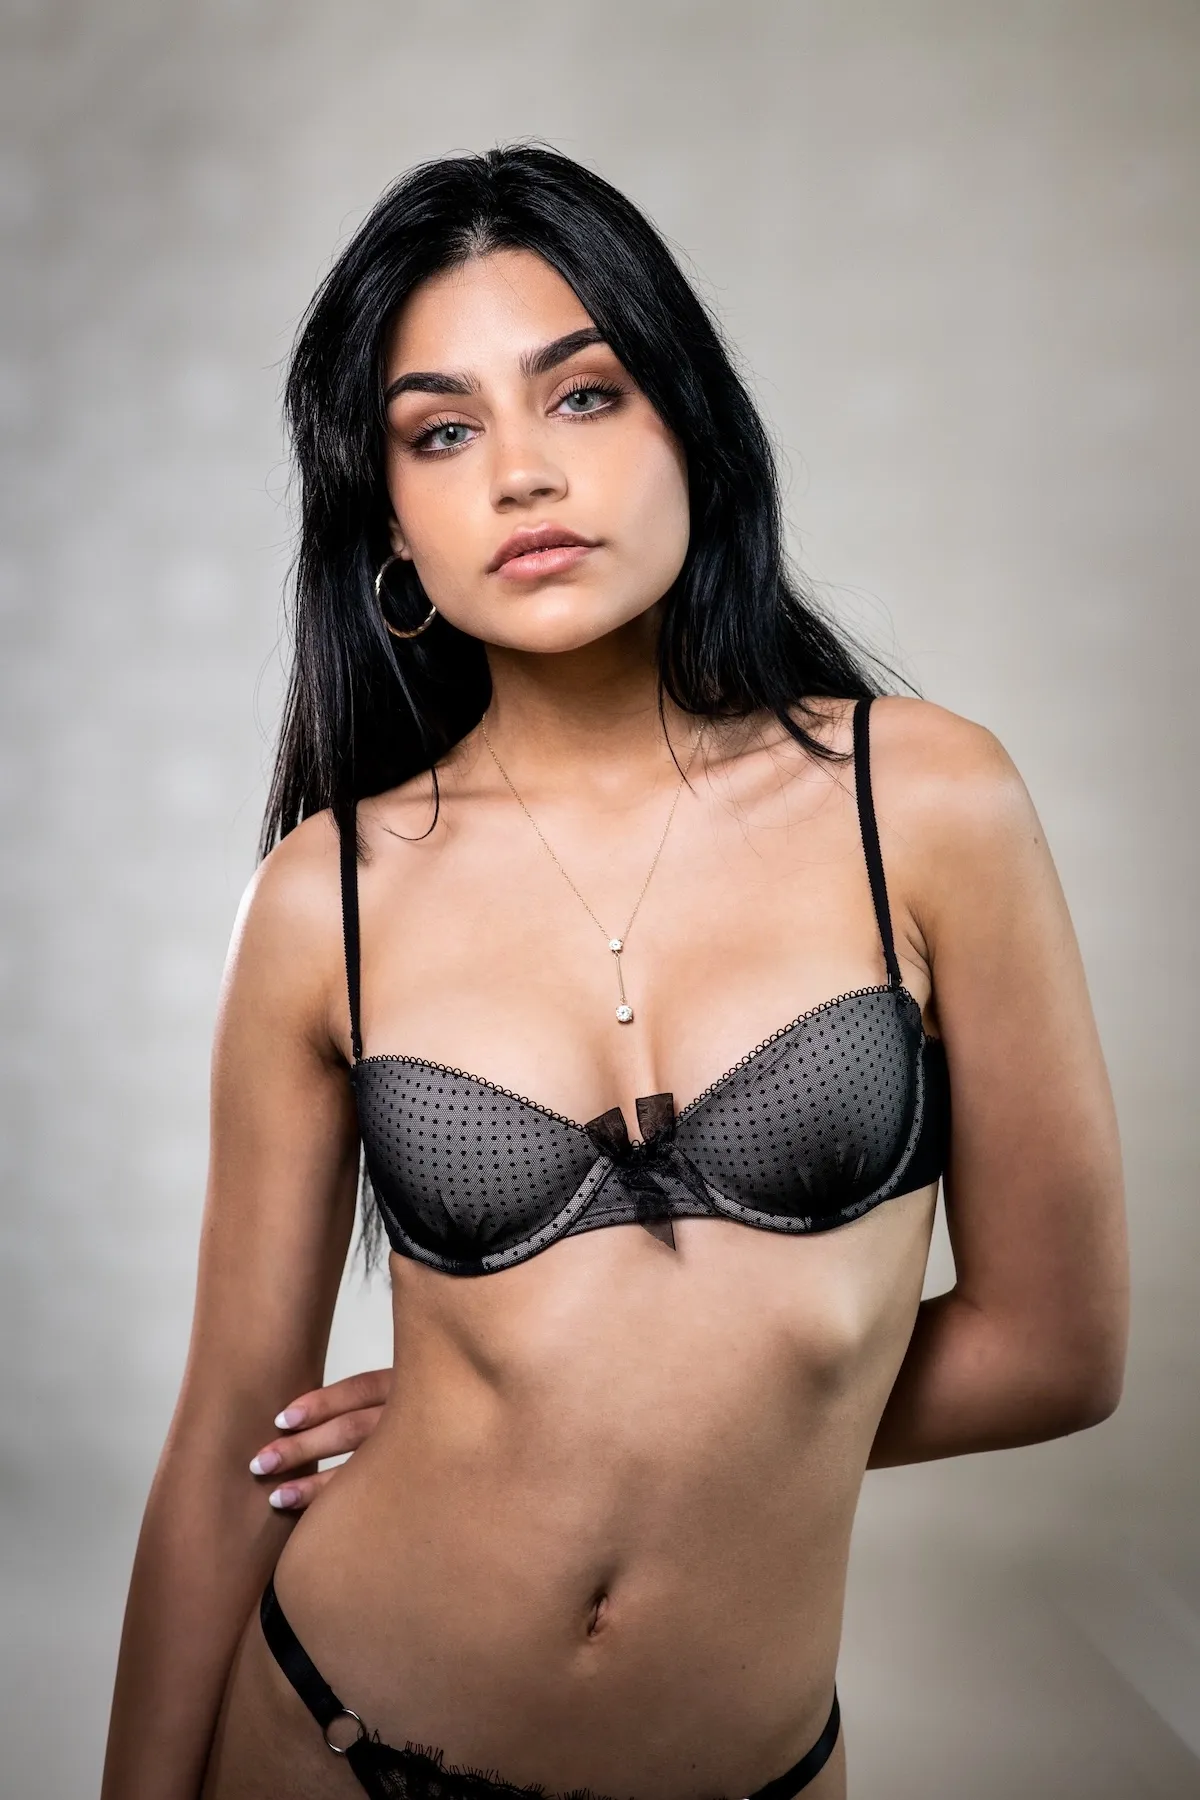
Technique 1: Blur the Background
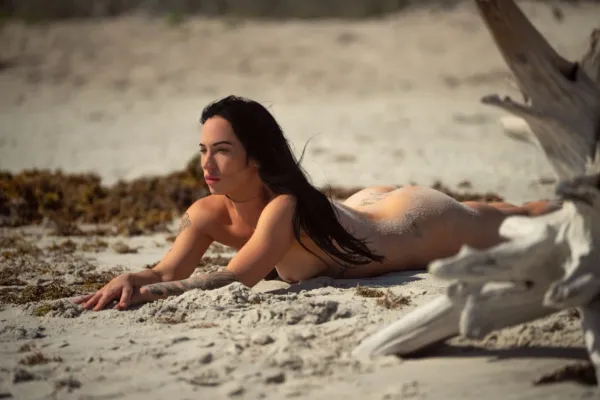
Using a shallow depth of field is one of the easiest ways to add dimension. Shoot with a wide aperture (low f/stop) and position your subject away from the wall. This creates a natural blur that separates your subject from the background and adds a beautiful sense of depth.
Technique 1: Blur the Background
Technique 2: Introduce a Foreground Element
Adding a foreground helps create layers in your image. In an empty room, this can be tricky, but using a prism or glass object can add interesting light refractions and textures in front of your lens, creating visual intrigue.
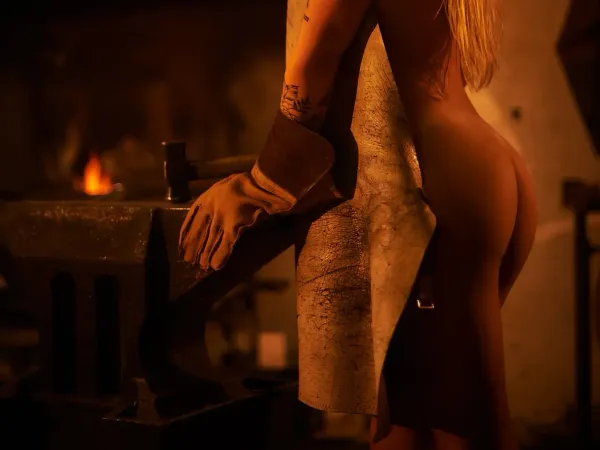
Technique 3: Create a Background with Light and Texture
When your only background is a blank wall, fake one! We placed a textured metal sheet in front of a light source to cast artistic shadows behind the model. This simple trick breaks the monotony and visually separates the subject from the wall.
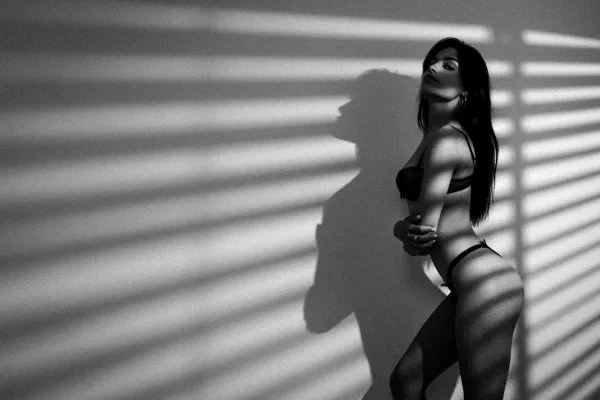
Technique 4: Use Strong Shadows for Contrast
A room without much color or detail can be enhanced with strong lighting contrast. Direct light through window blinds or fabrics like lace to create patterned shadows on the subject. This high-contrast lighting style, reminiscent of Film Noir, is perfect for black-and-white photography.
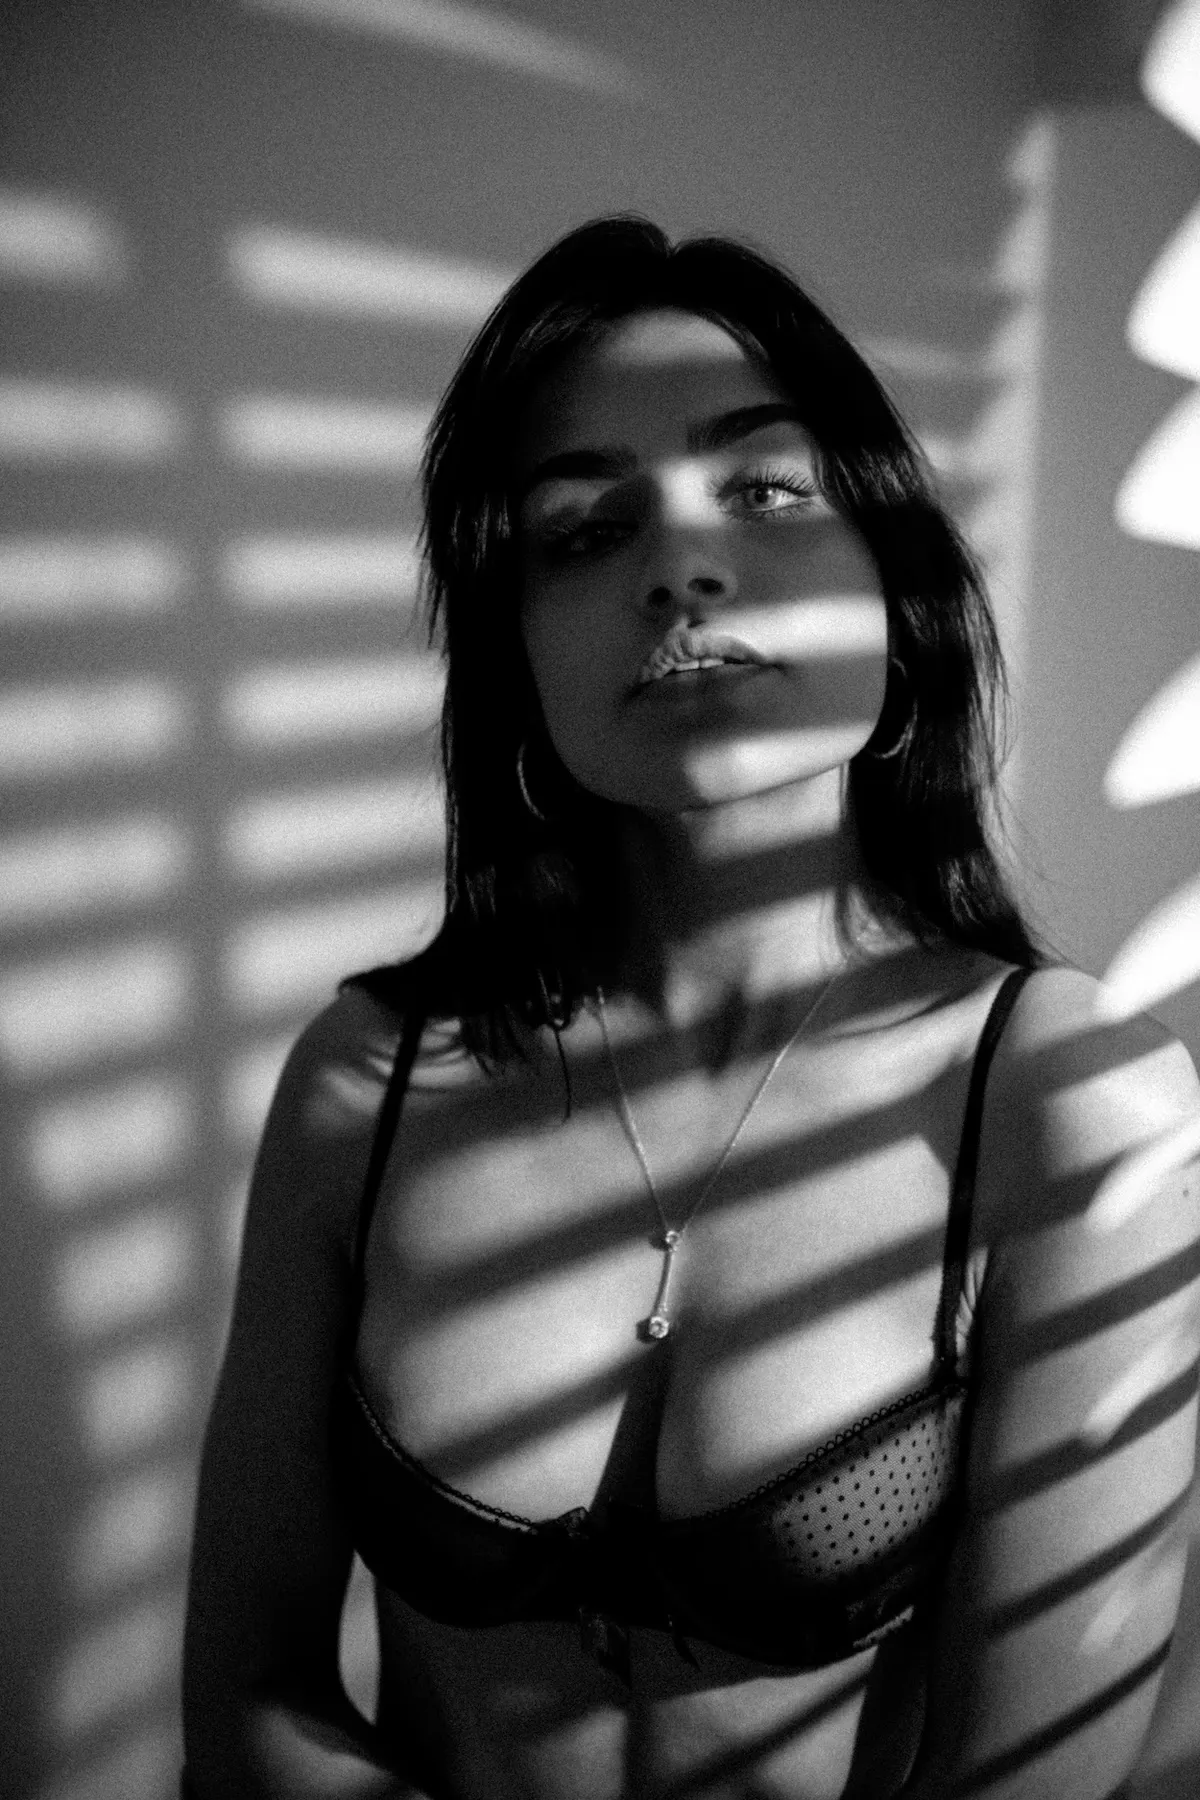

Technique 4: Use Strong Shadows for Contrast
Technique 5: Add Rim Lighting
Rim lighting outlines the subject, adding dimension and sculpting their form. Place a light source slightly behind or at a 45-degree angle to highlight the edges of their shoulders, neck, or hair.
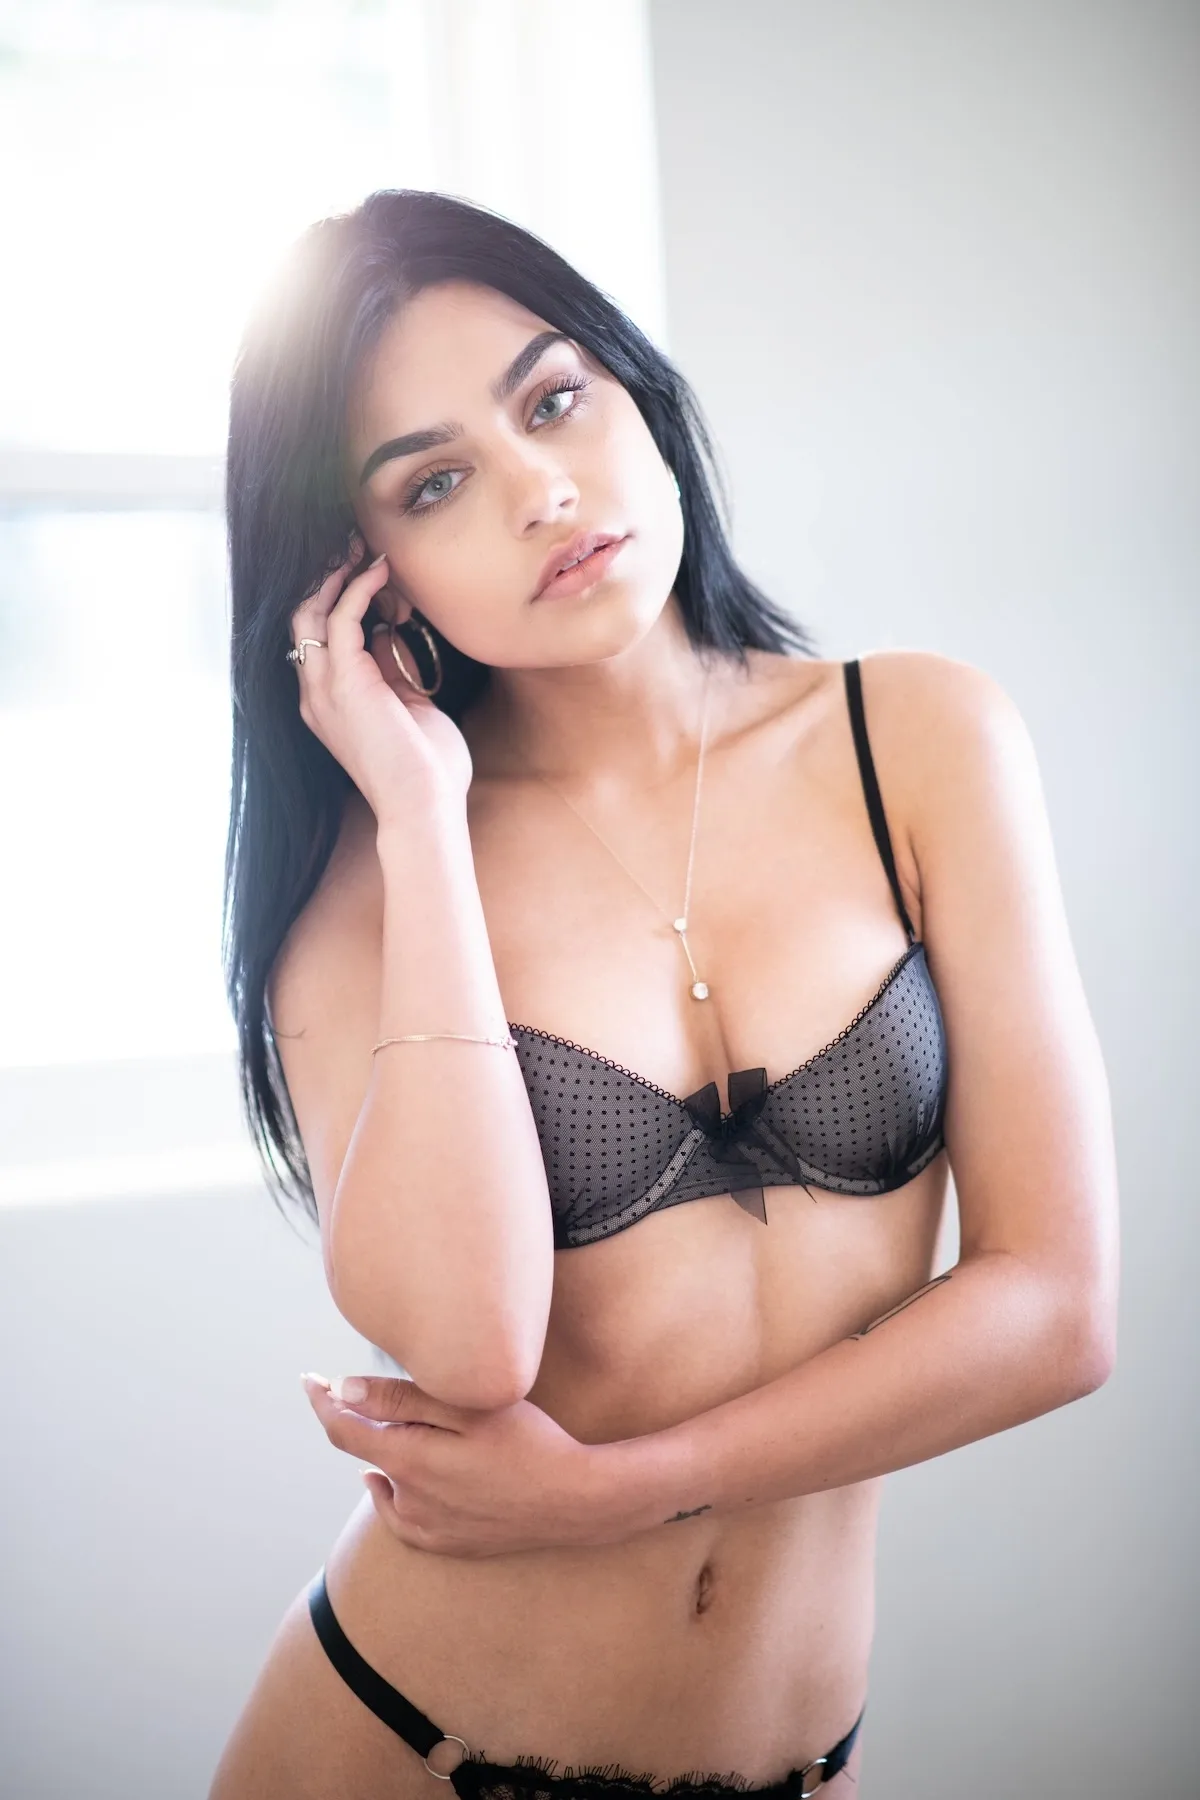
Technique 6: Use Backlighting for Depth
Backlighting is another great method to introduce depth. If natural sunlight isn’t available, simulate it—like we did by placing a tungsten light outside the window. This created a warm, glowy effect from behind.
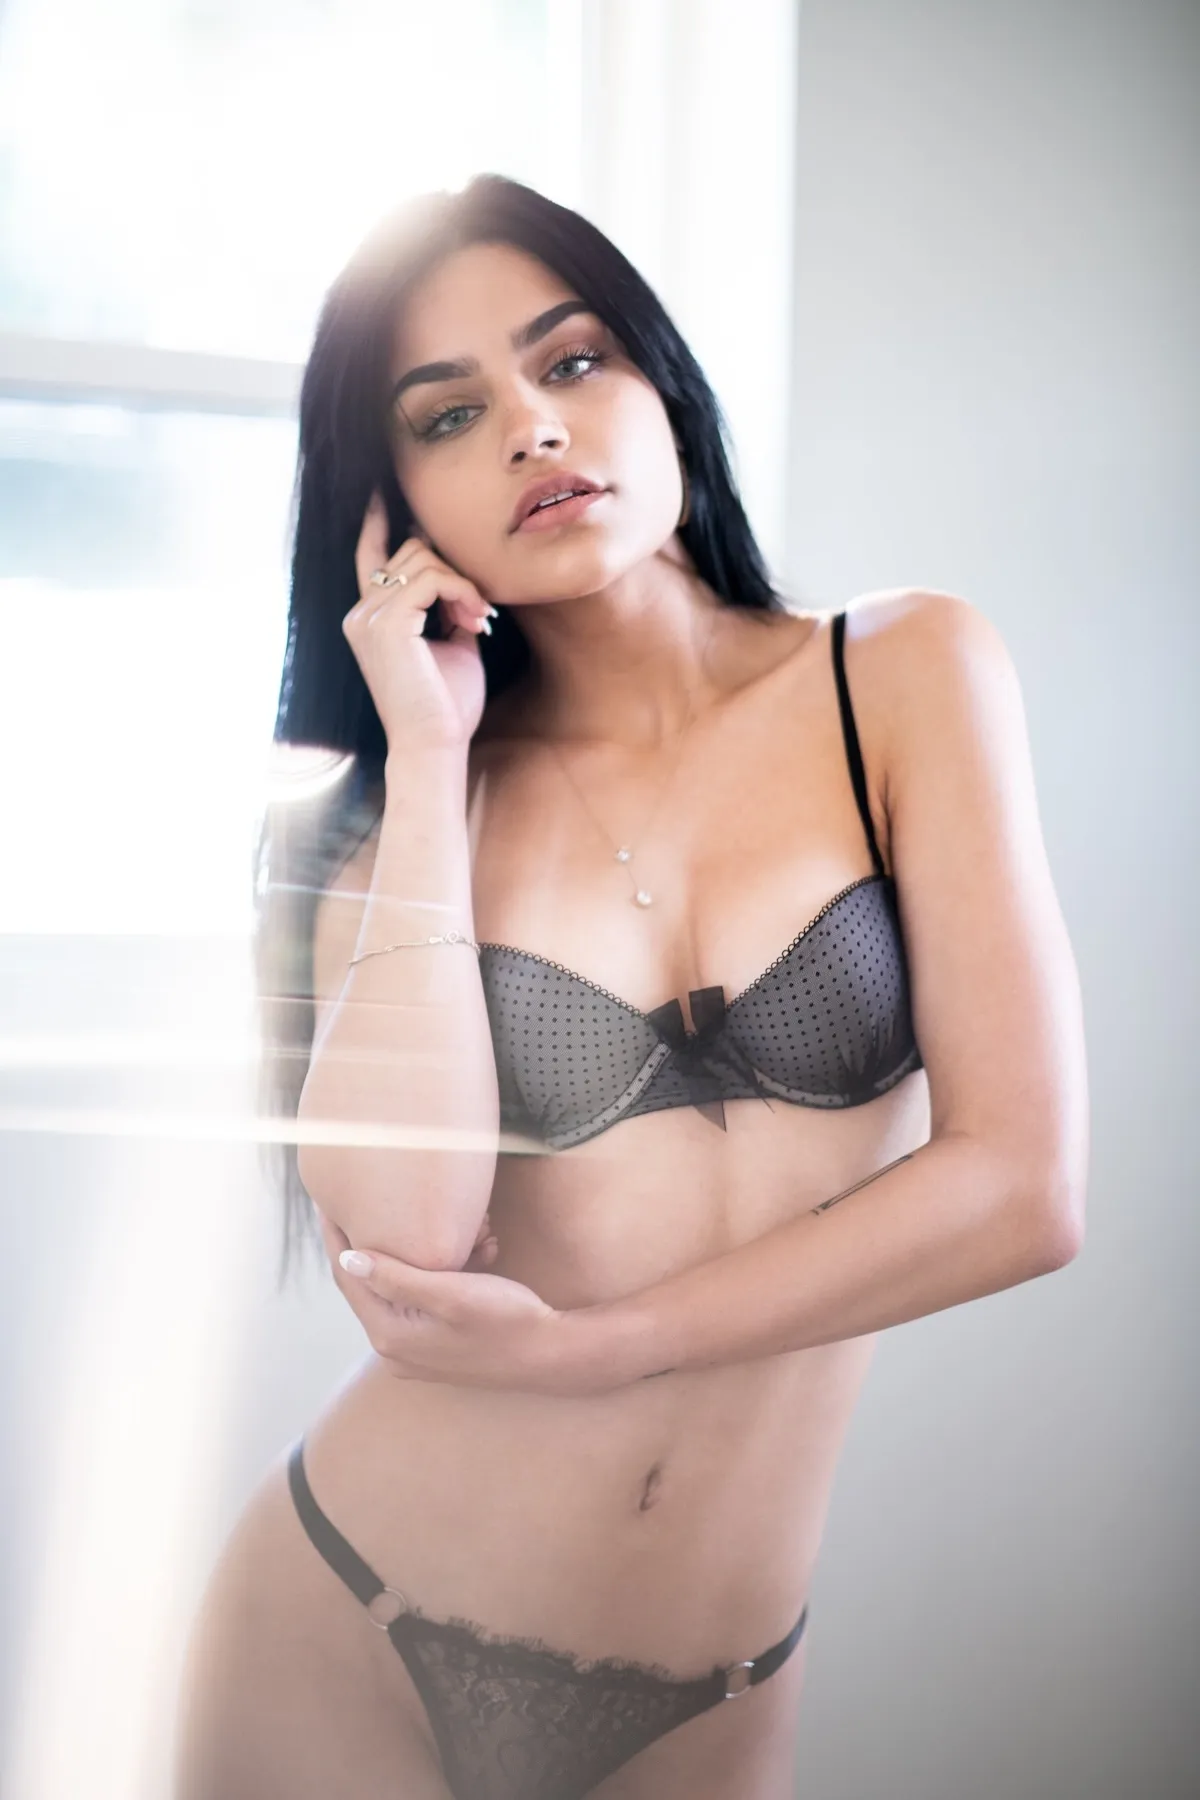
Technique 7: Combine Backlight and Foreground
In one of our shots, we used both a backlight and a prism in the foreground to create a dreamy, dimensional feel. This image contains all three compositional layers: foreground (the prism flare), midground (the model), and background (enhanced with rim light and separation). It’s the most complete and three-dimensional image of the set.
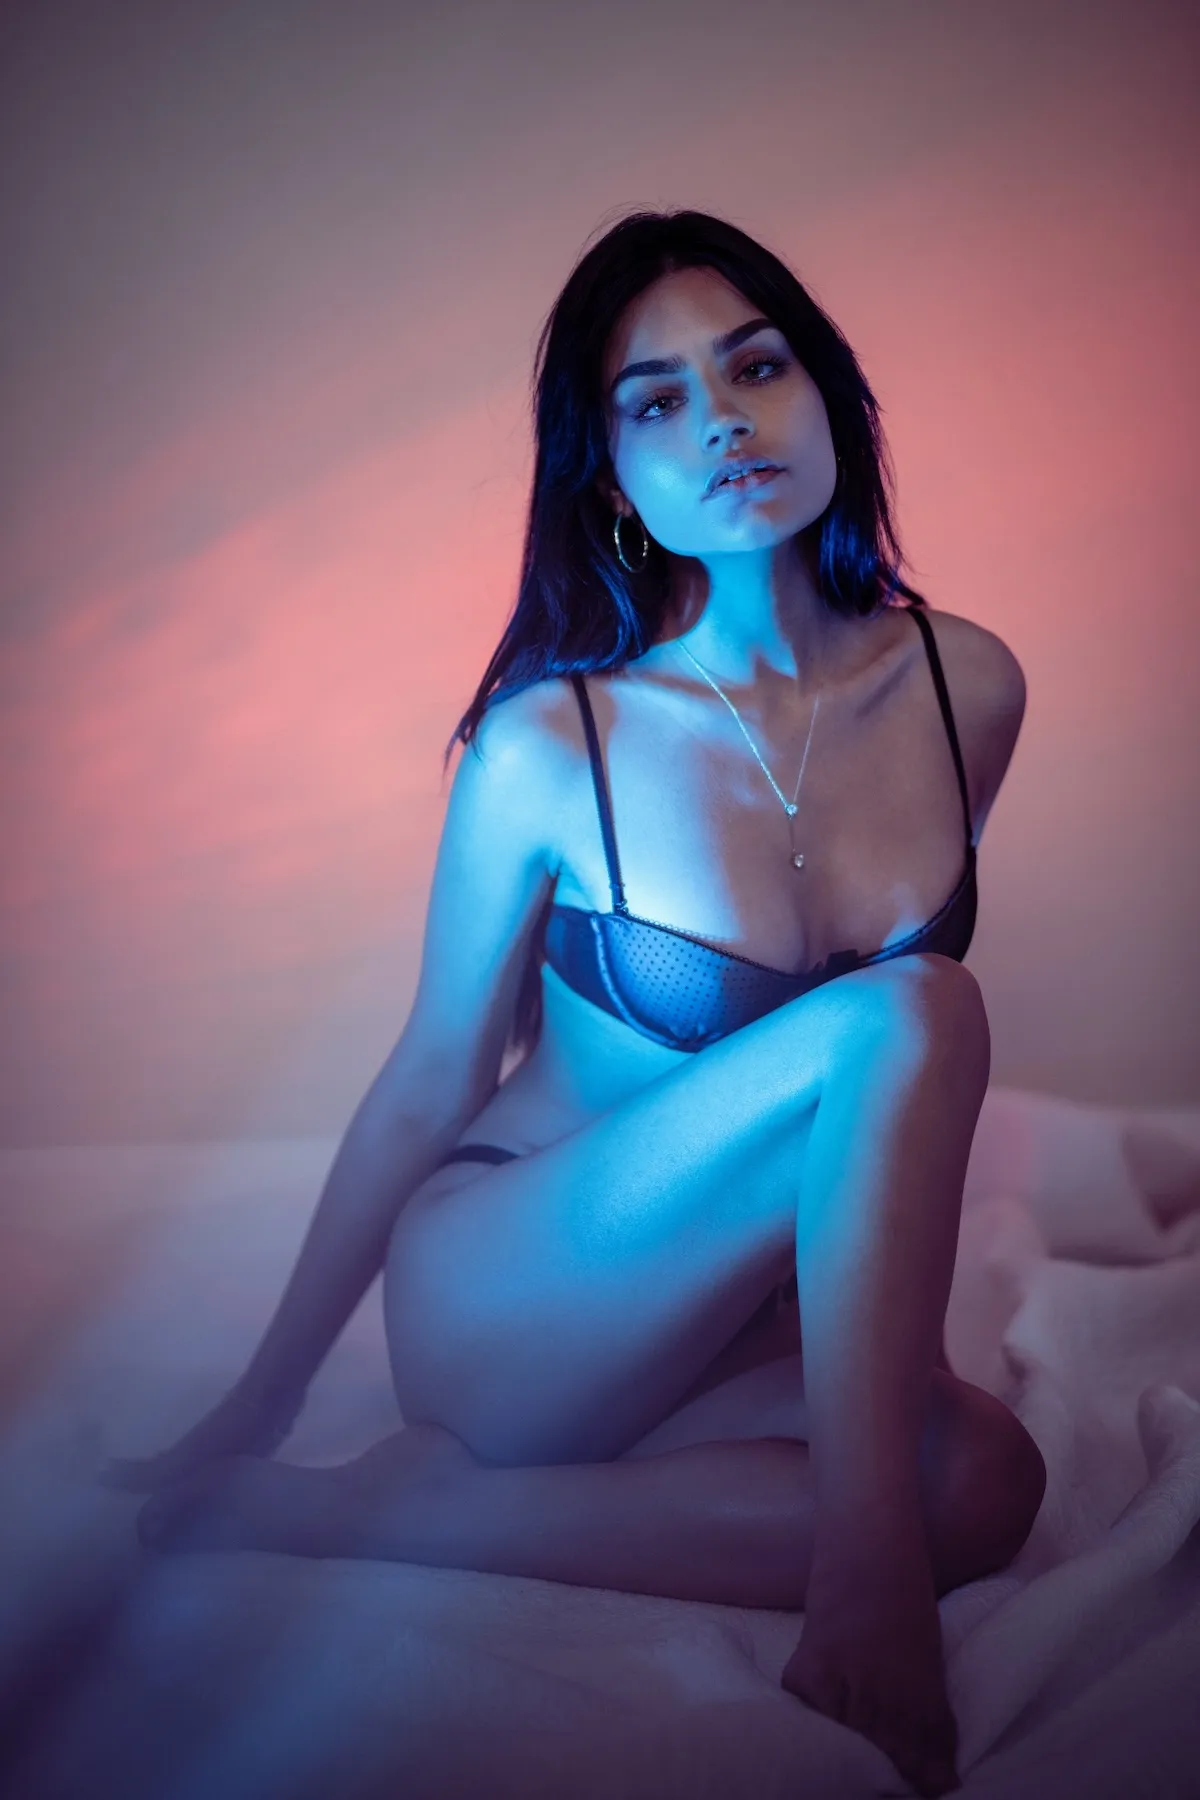
Technique 8: Use Color Contrast to Build Depth
Though I typically avoid gels or colored lighting in boudoir, color can certainly add impact—especially in a white, colorless room. We used stage lights with complementary hues (opposite on the color wheel) to boost color contrast and introduce dynamic energy to the image.
Bonus Tip: Light Balance for Cinematic Depth
A subtle yet effective method is to balance light across the frame: place the brighter side of your subject against a darker background, and vice versa. This technique is popular in cinematography and helps guide the viewer’s eye.
Final Thoughts
Whether you're shooting full-body, medium, or close-up portraits, embrace the simplicity of an empty space. Use negative space to your advantage and focus on mood, expression, and creative framing.
You don’t need an elaborate set—just an empty room, a bit of creativity, and these techniques. Experiment with light, textures, reflections, and shadows. Think outside the box, and you'll discover just how much is possible in the emptiness.
Learn Boudoir Photography on BIB TV