A Simple Guide to Sensual Boudoir Posing
Step-by-step Approach to Posing the Entire Body

– 4 min read


Step-by-step Approach to Posing the Entire Body
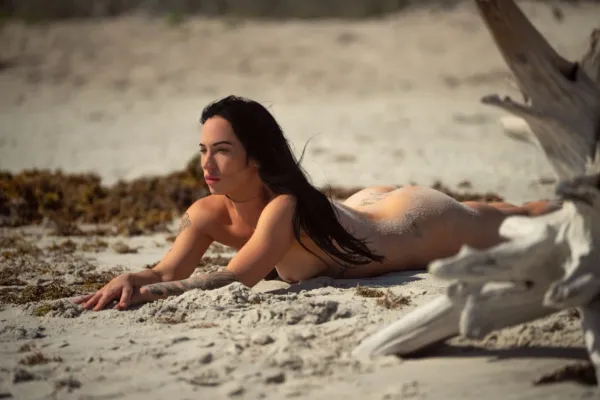
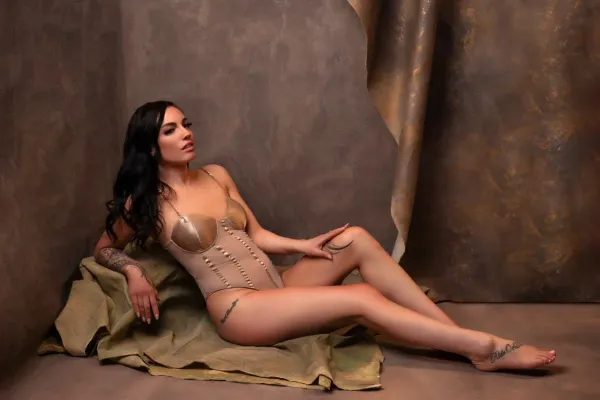
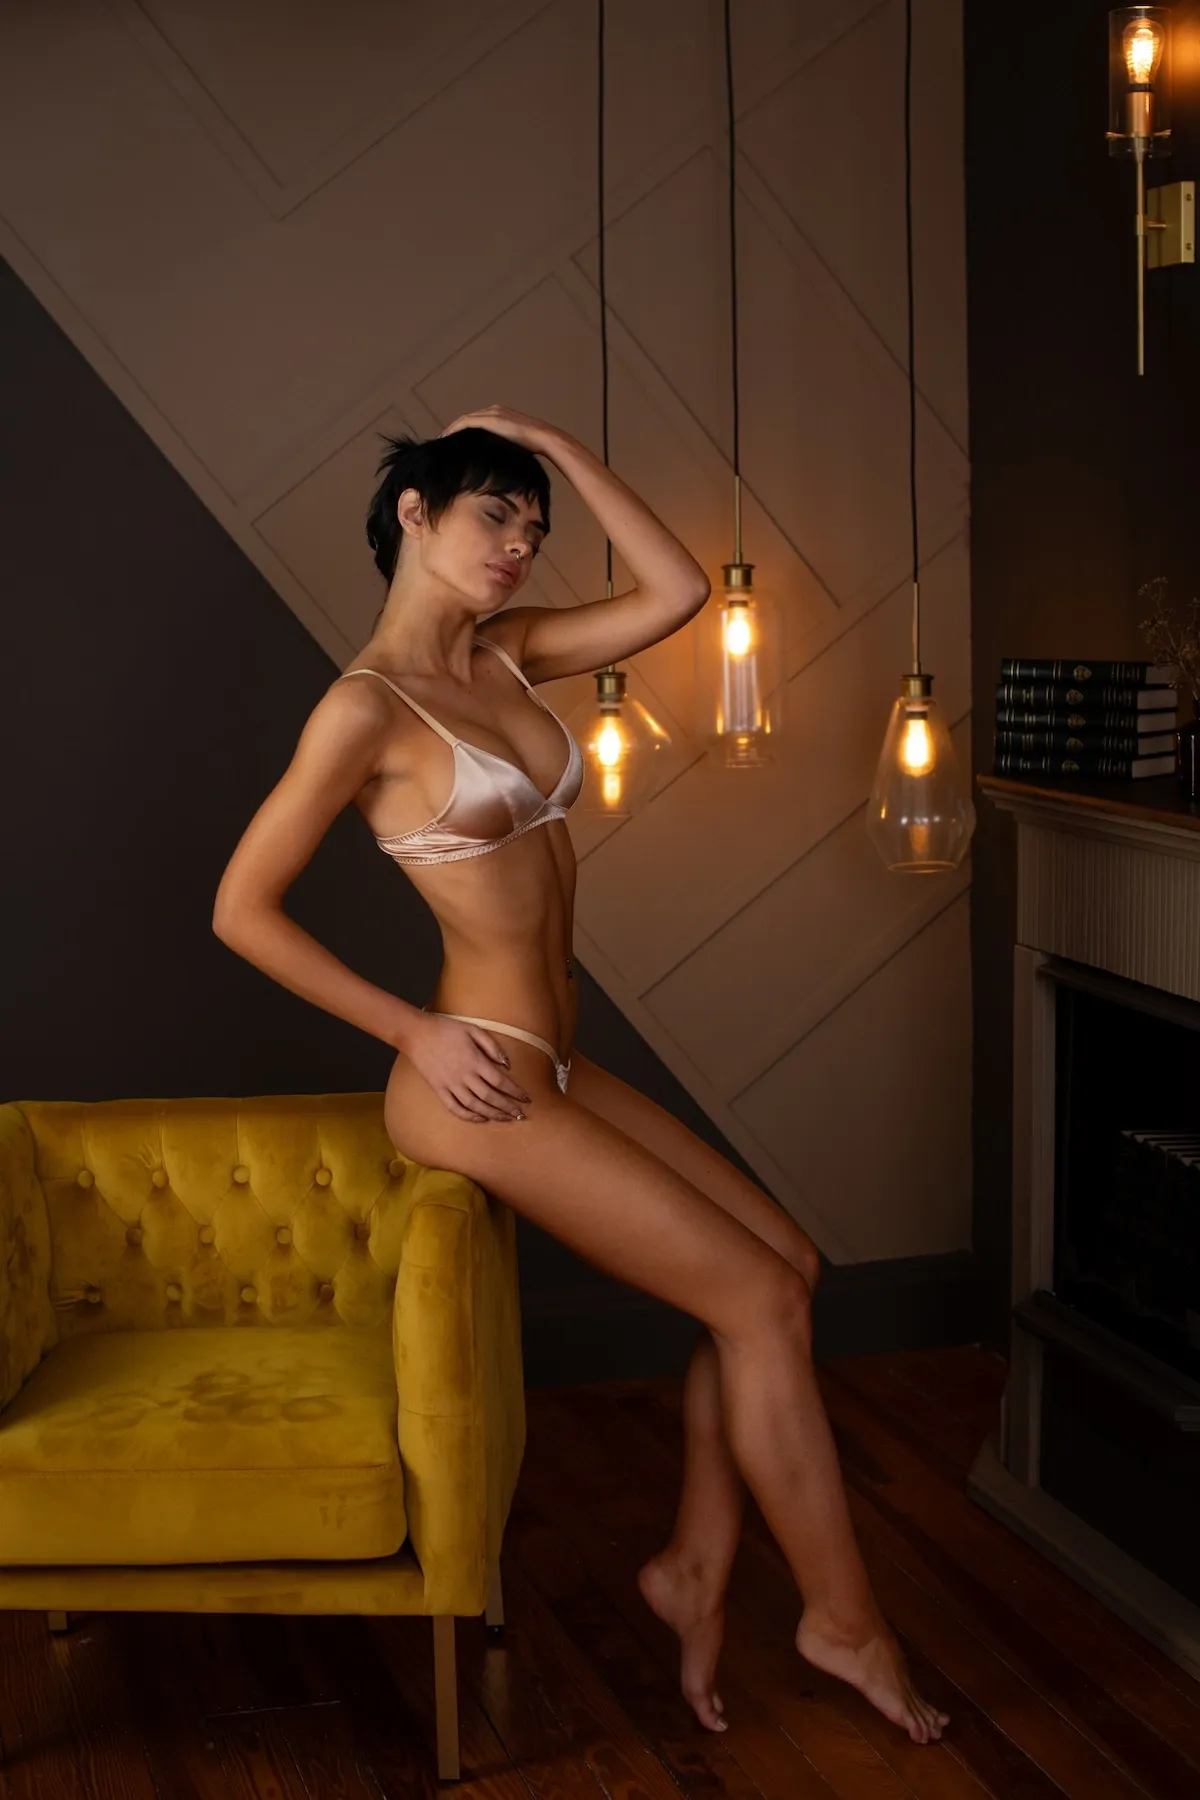
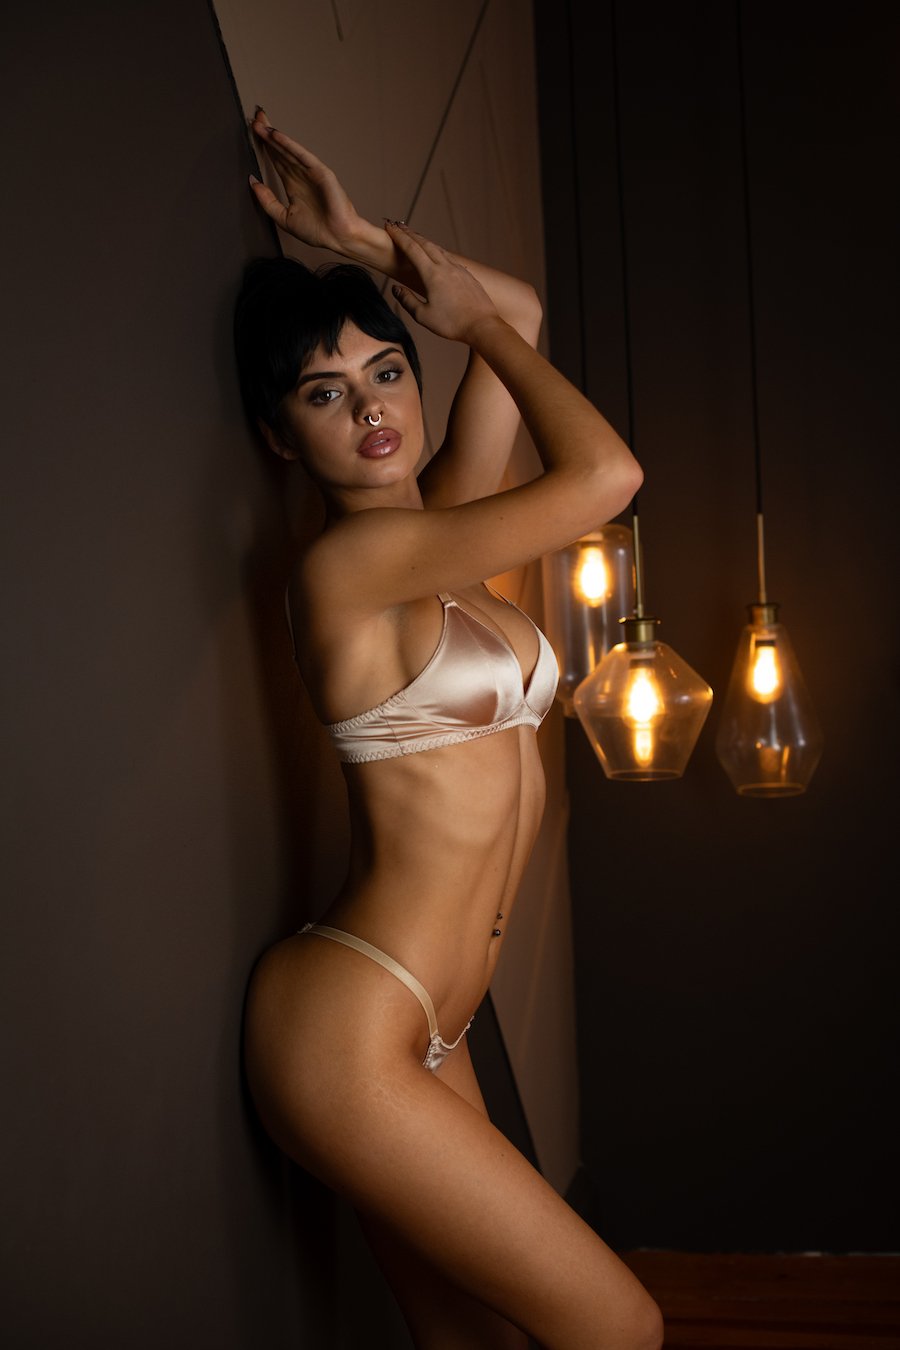
In boudoir photography, two essential visual elements shape the art of posing—curves and triangles. Triangles naturally form when the model bends parts of the body such as the knees, elbows, or wrists, while curves emphasize the body's feminine lines. Highlighting both creates poses that are graceful, dynamic, and full of confidence. Mastering these elements is key to crafting impactful boudoir images.
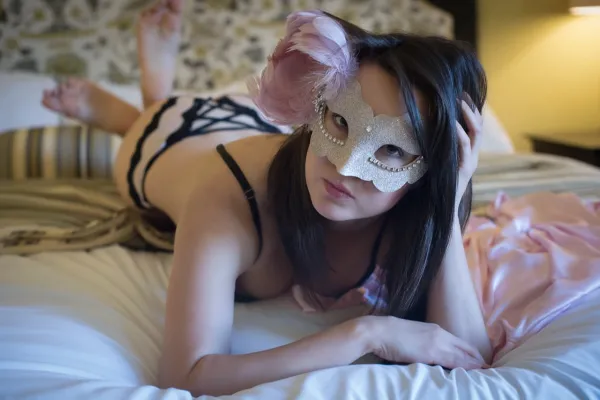
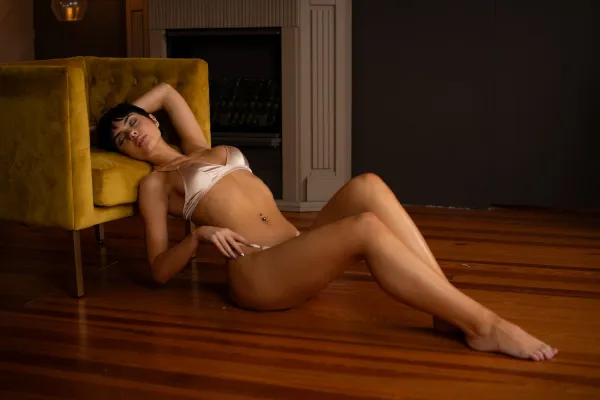
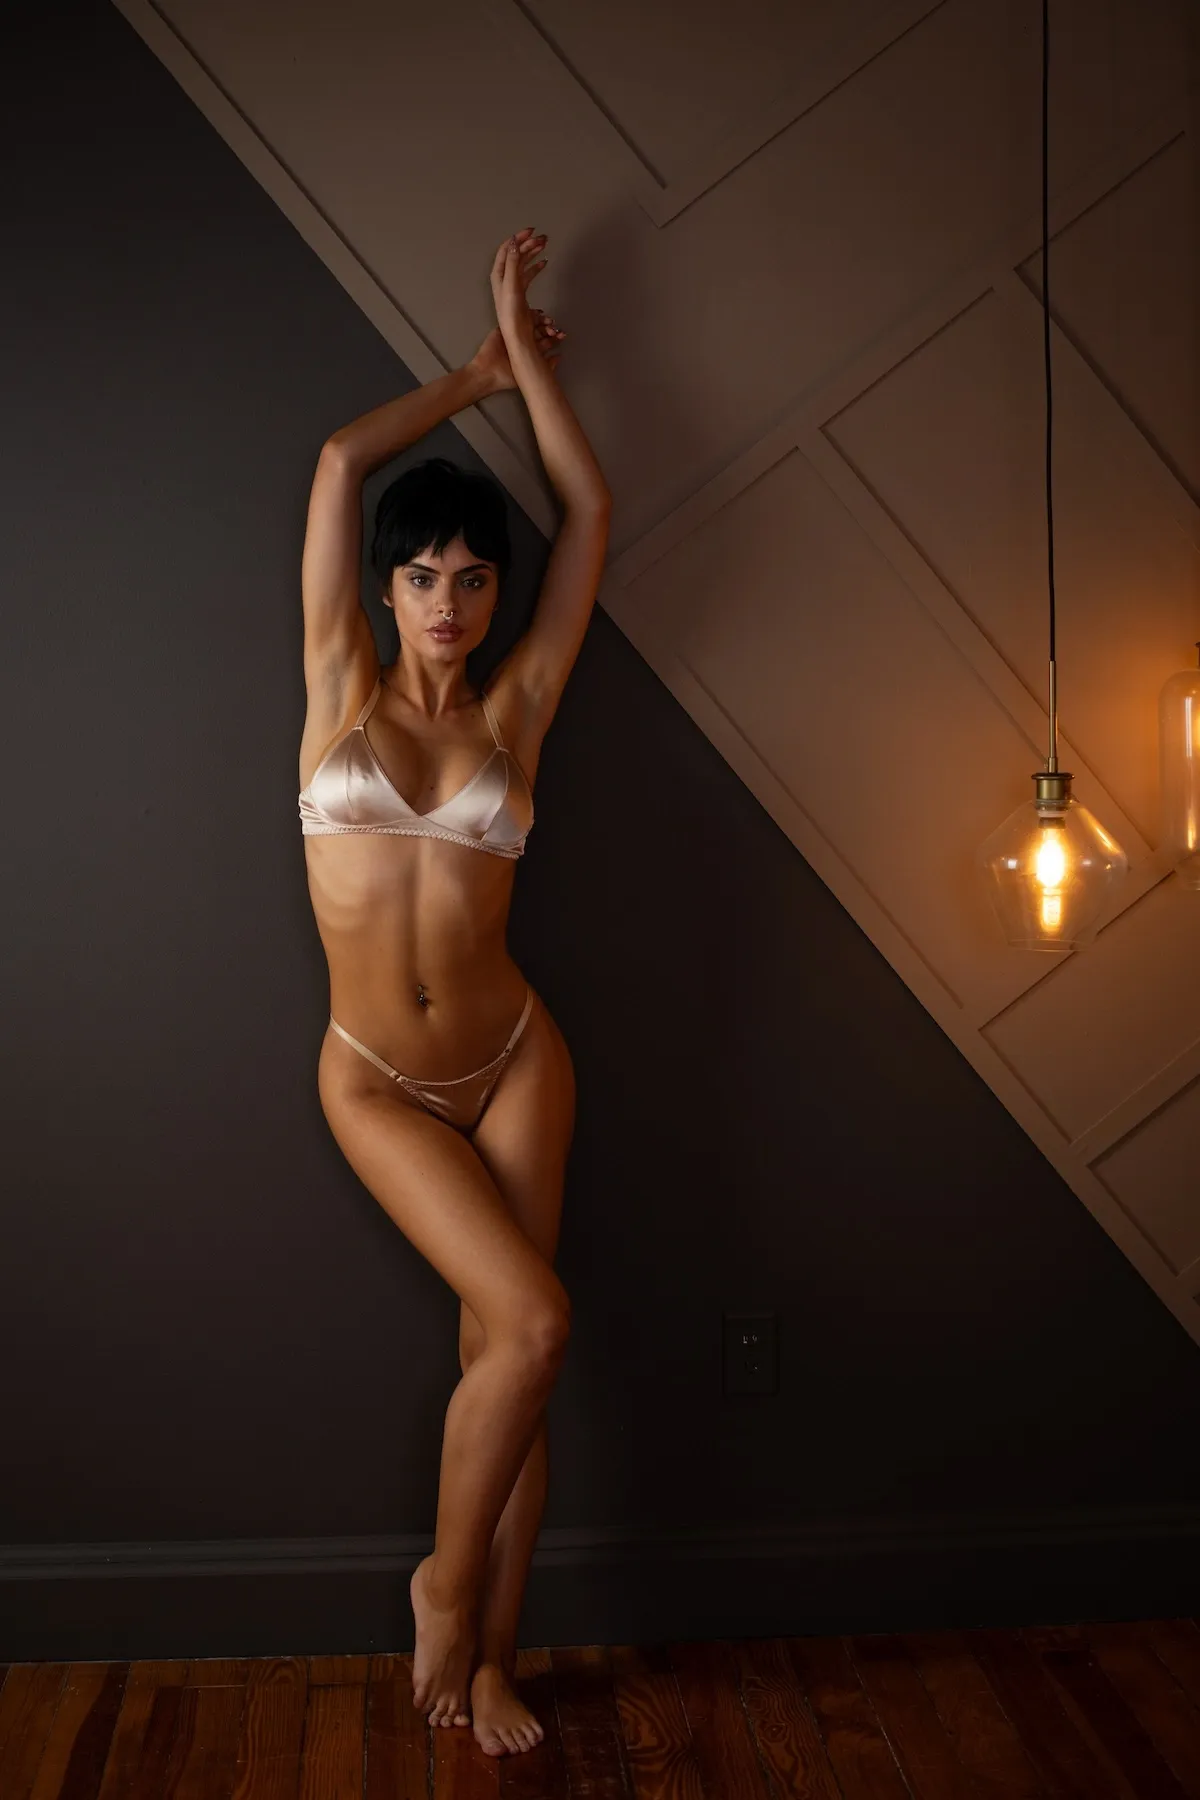
Great posing starts from the ground up. One of the simplest yet most effective techniques is pointing the toes. This instantly adds grace and visually lengthens the legs, enhancing the overall elegance of the pose—whether the subject is standing, reclining, or seated. However, to avoid muscle fatigue or foot cramps, save the toe-pointing for the final moments just before you take the shot. This ensures your subject stays comfortable while still achieving that refined, elongated look.
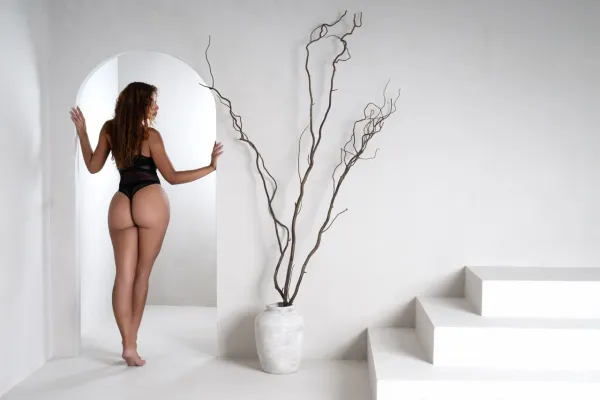
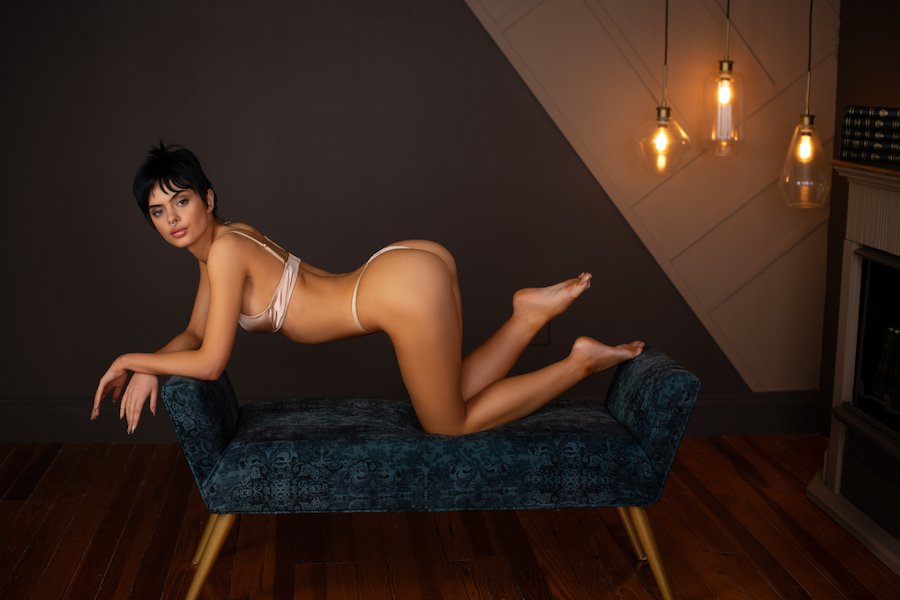
Leg positioning plays a vital role in shaping the lower body. One go-to technique is bending a knee and gently crossing it over the other leg—this move carves out beautiful angles while enhancing the shape of the hips. Another flattering variation involves crossing the legs at the shin, paired with a slight rise onto the toes. This pose softens the stance and subtly introduces graceful curves, perfect for a refined boudoir composition.
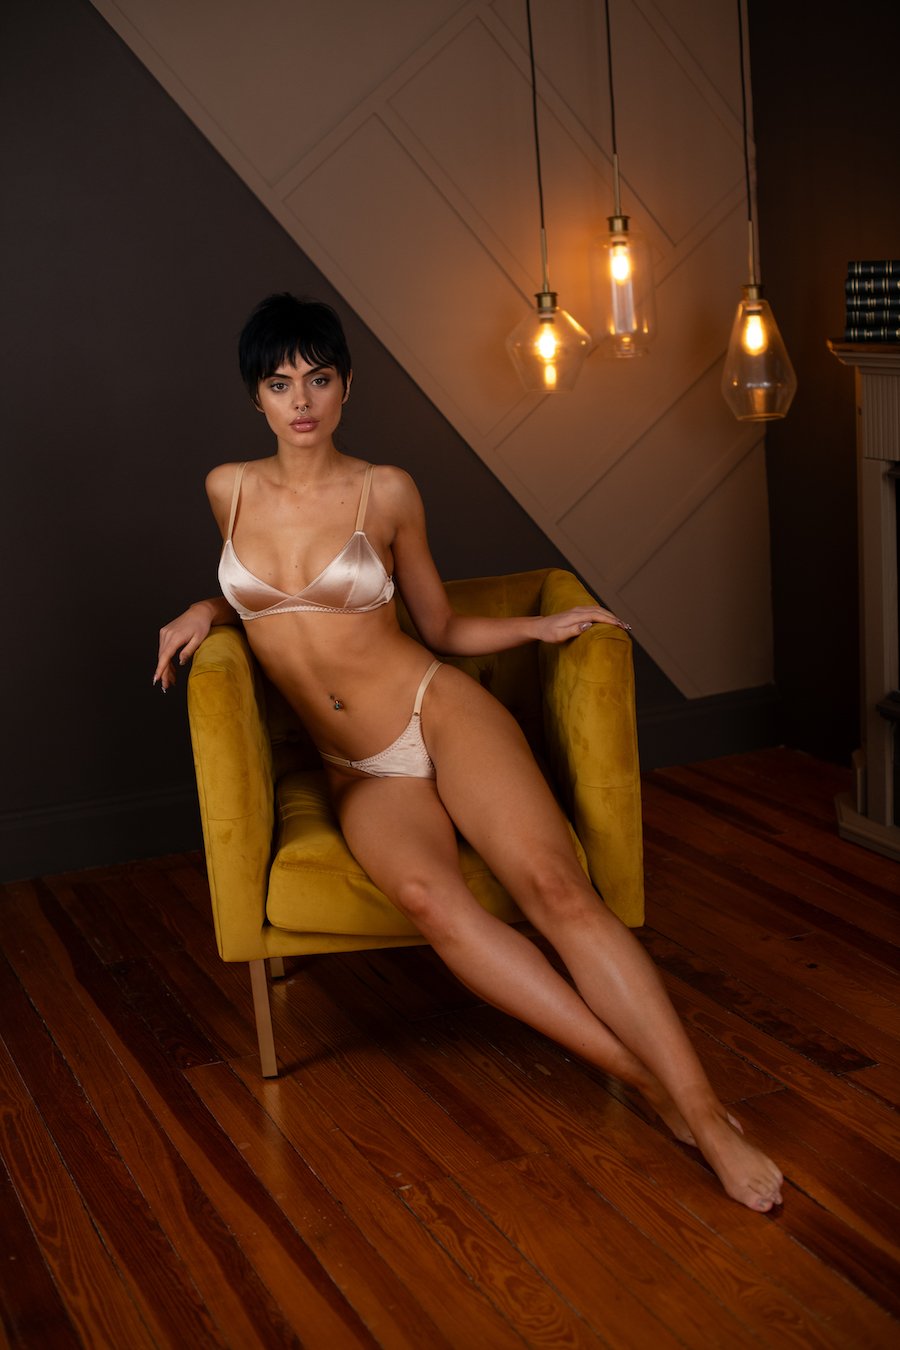
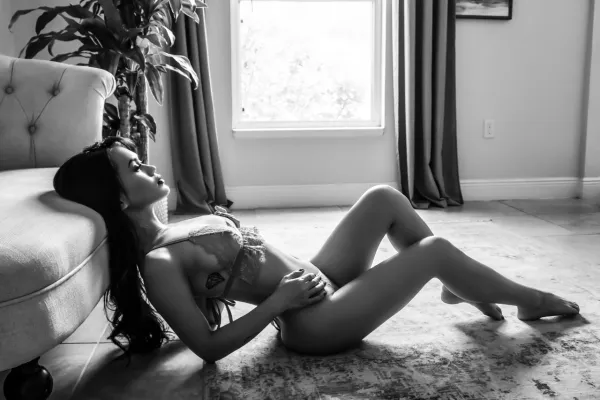
To bring out the natural curves of the body, guide your subject to gently push their hips to the side. This movement enhances the hourglass shape and draws attention to one of the most visually appealing lines in boudoir photography. Whether your subject is standing, seated, or lying down, a slight shift in the hips can add instant allure to the composition.
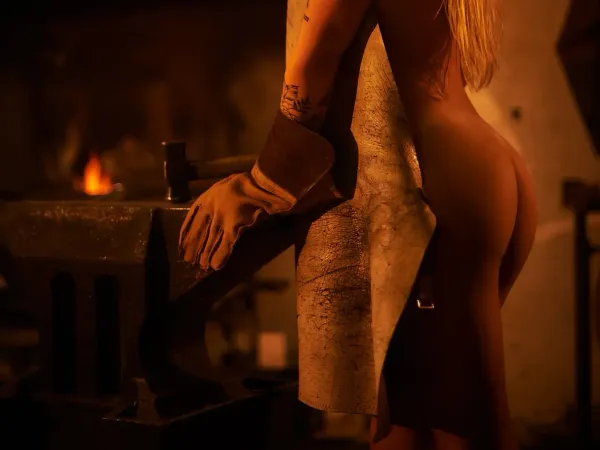
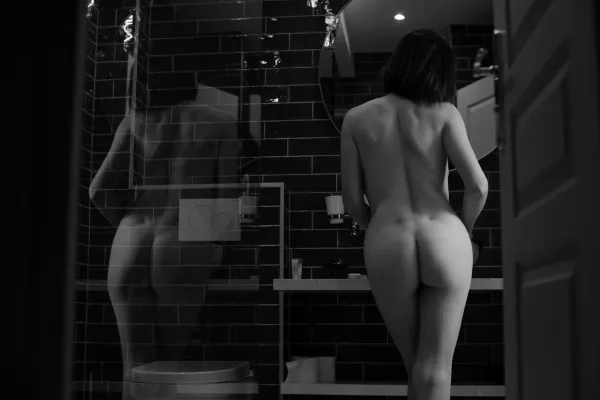
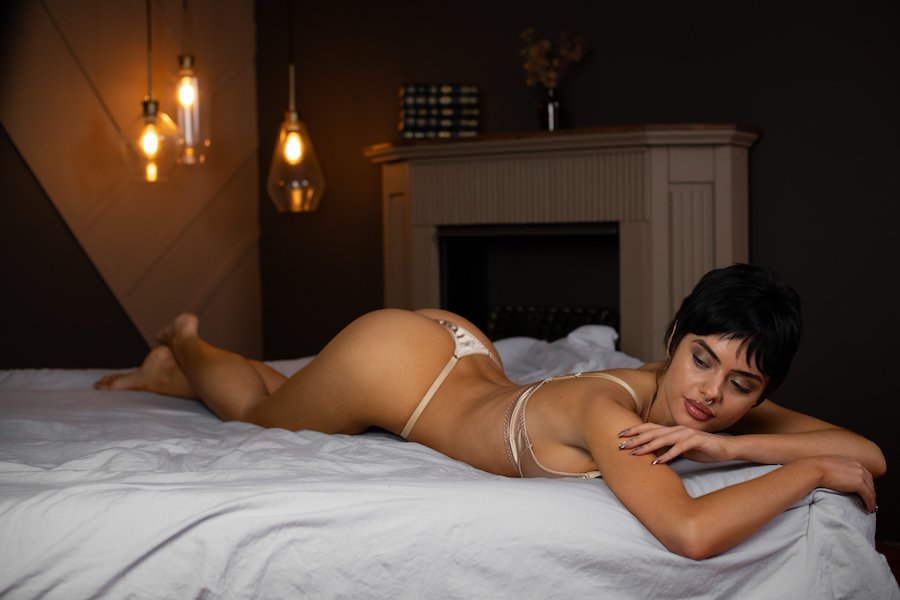
Encourage your subject to softly arch their lower back. This subtle movement lifts and defines the buttocks, creating a confident and sensual silhouette. The arch not only enhances body lines but also helps convey empowerment and elegance through posture.
Elegant Back Lines
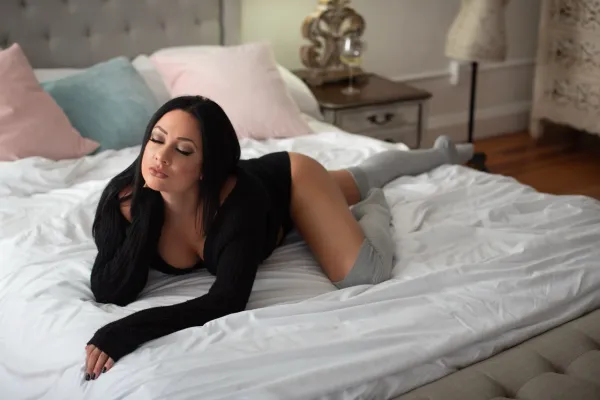
Encourage your subject to maintain a soft arch in the back—this simple yet powerful adjustment adds a sense of grace and sophistication to any pose. A well-arched back enhances the natural S-curve of the body, making the pose feel fluid and elevated.
Soft Hands & Wrist Placement
Hands should always appear relaxed. Gently bend the wrists to form subtle triangles, which add interest and softness to the pose. Remind your subject to position the pinky side of the hand toward the camera—this creates a more refined and delicate look.
Shoulder Styling
Avoid raised shoulders, which can create tension in the image. Instead, guide your subject to drop and relax their shoulders. For an extra touch of elegance, roll one shoulder slightly forward to define the collarbone and elongate the neck.
Refining the Neck and Chin
When working with clients who may have a shorter neck or double chin, avoid full profile angles. Instead, have them face the camera or position their body at a 45-degree angle. Instruct them to gently push their chin forward and slightly down to create flattering lines and define the jawline.
Constructing the Pose from Ground Up
Build each pose with intention—start from the feet and work your way up. Begin by adjusting the toes, then sculpt the legs, hips, torso, arms, and finish with the face. Keep an eye on the creation of triangles and smooth curves, ensuring that every detail contributes to a polished and confident pose.
Framing & Camera Angles
To capture a diverse and beautiful gallery:
Perfecting the art of boudoir posing is key to crafting powerful, elegant, and confident portraits. Focus on creating triangles and emphasizing natural curves, while mindfully adjusting each body part—from pointed toes to elongated necks. With consistent practice and a thoughtful approach, you’ll refine your posing skills and create imagery that celebrates your client’s unique beauty.
Ready to take your posing to the next level? Explore our Advanced Boudoir Posing Course on the platform for deeper techniques and professional tips that transform your sessions.
Learn Boudoir Photography on BIB TV