How to Make Legs Look Sexy
Short legs in boudoir photos? Try these 3 simple posing tricks!

– 5 min read


Short legs in boudoir photos? Try these 3 simple posing tricks!
Have you ever noticed how short legs can make the entire body look shorter in boudoir photos? This is one of the biggest posing mistakes photographers make. Instead of fixing the legs, they focus on upper-body portraits, missing out on beautiful full-body shots and potential album sales. But here's the thing: it's not your client's body type or the length of her legs that's the problem. It's how you pose them!
I'm only 5'3" and petite, but people are always complimenting on my long legs in photographs. Well, guess what? My legs aren't actually long! I just know a simple posing trick that makes them look longer, sexier, and more elegant in photos. And today, I'm going to share that exact trick with you so you can use it with your clients, no matter their height or body type.
The secret to making legs look longer isn't complicated. In fact, I use the same three techniques in almost every boudoir pose, whether my client is standing, sitting on a chair, relaxing on a sofa, or lying on a bed. Once you understand these three steps, you'll stop worrying about memorizing poses and start creating your own.
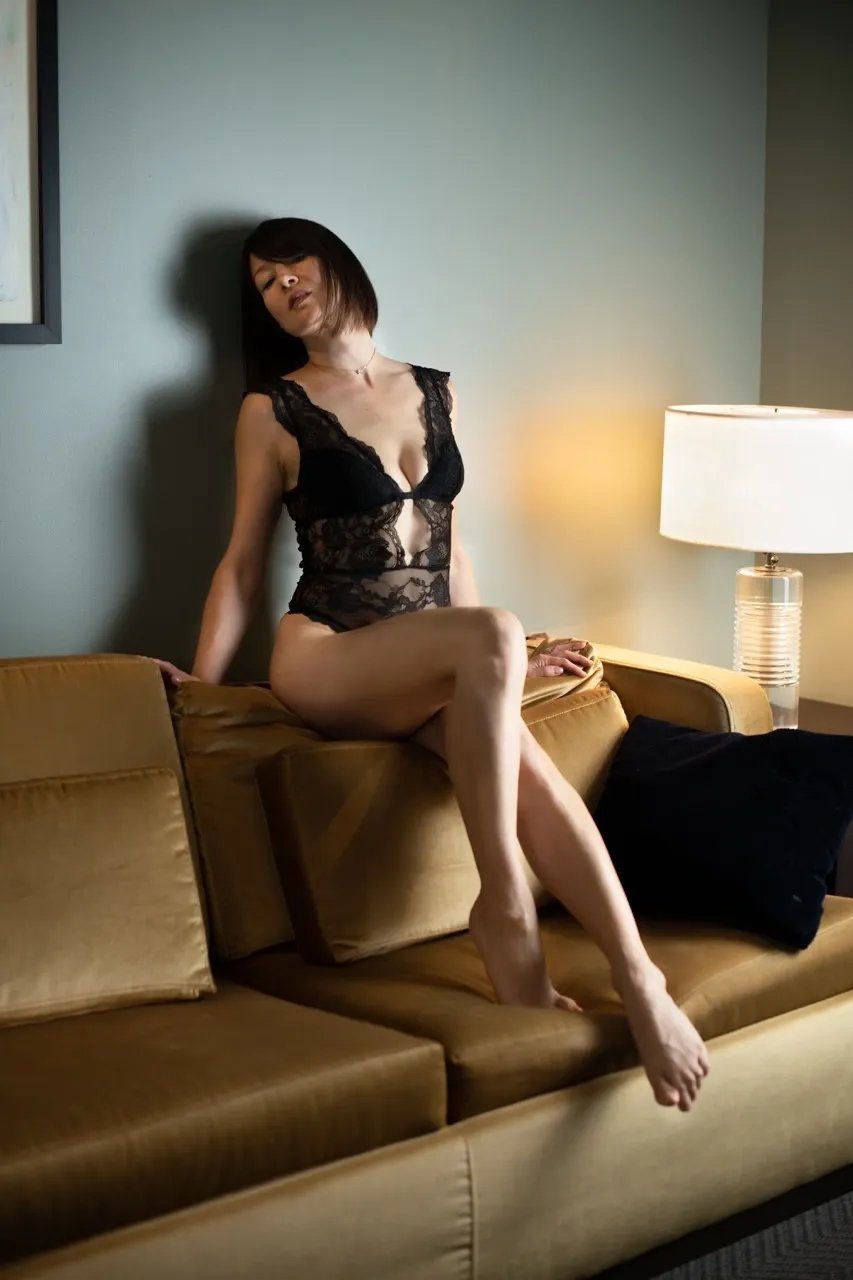
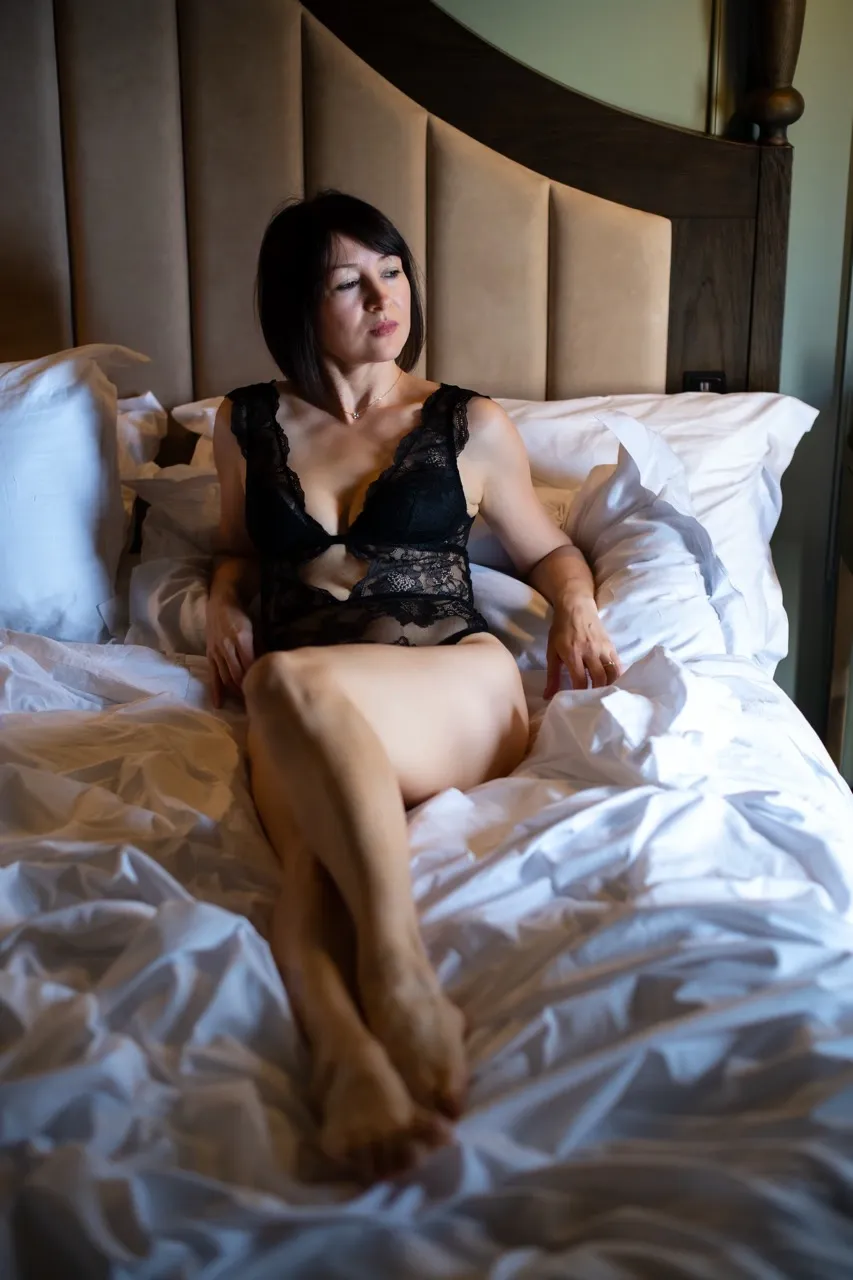
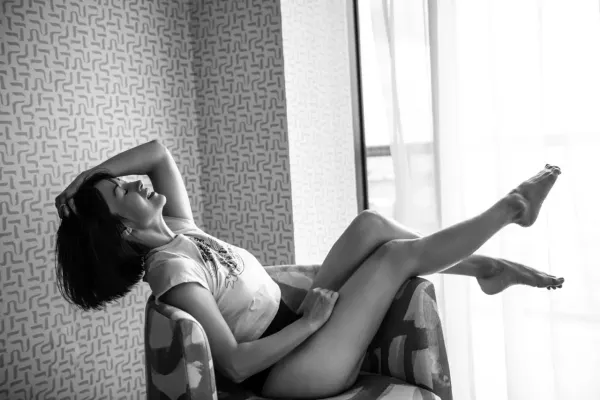
The first step is to stretch both legs as much as possible, while keeping the pose natural and comfortable for your client. Ideally, one leg should extend slightly farther than the other to create a beautiful, elongated line.
Here's something important: keep the feet close together or connected. When the feet are too far apart, the legs can look disconnected, and one may appear noticeably shorter than the other. By keeping them close, you create a continuous visual line that makes the legs appear longer and more elegant.
Of course, every pose is different, so you need to adjust how far the legs extend. The goal isn't to force your client into an uncomfortable position but to stretch the legs as much as the pose naturally allows.
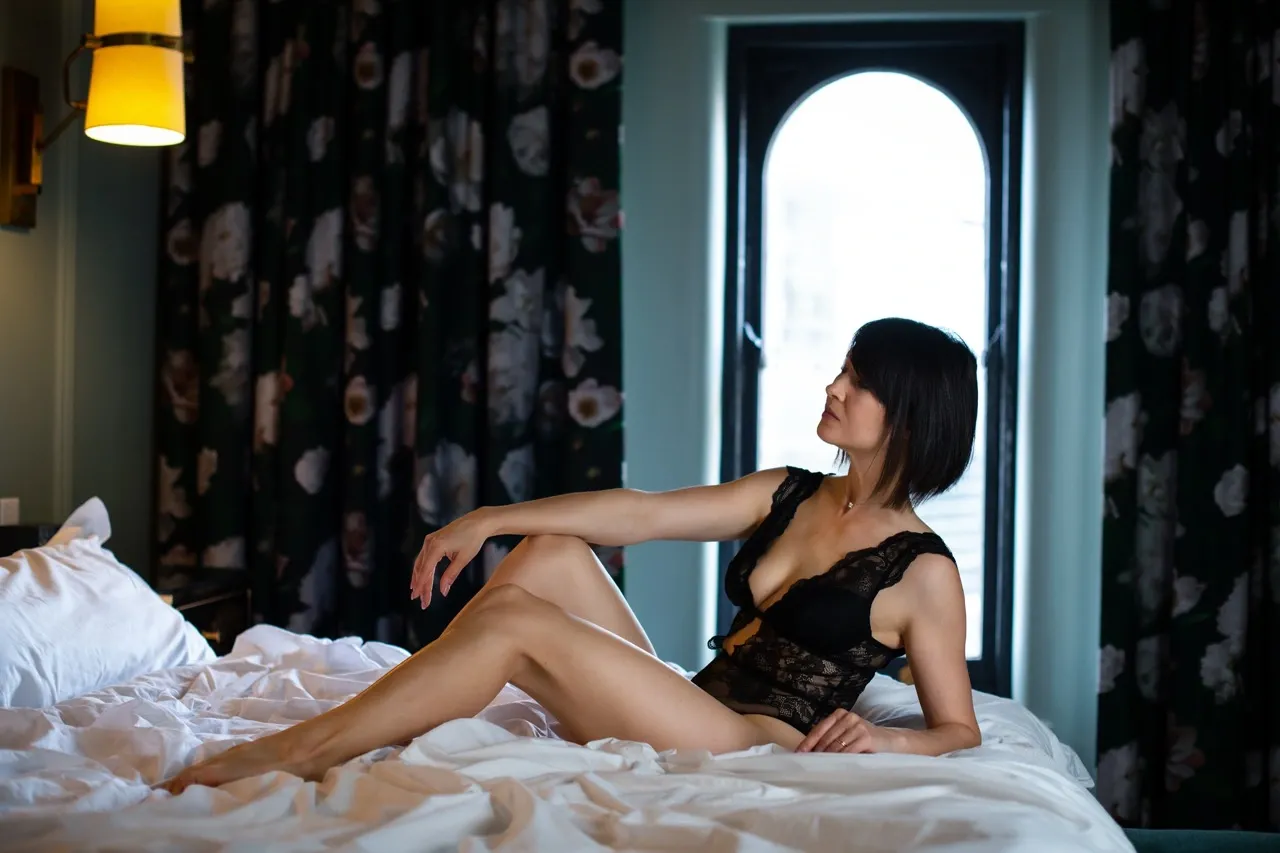
Here's something many photographers overlook: making the legs look longer starts with the upper body, too!
When your client bends or collapses through her midsection, her torso looks shorter, making her entire body appear compressed. Instead, guide her to stretch through her waist, lift her chest, and create a beautiful arch in her back.
The more you can comfortably elongate and arch the upper body, the longer and more elegant the overall silhouette can appear. This is especially important when posing on chairs, sofas, and beds, where clients naturally tend to slouch or sink into the furniture.
Remember, we're not just trying to make the legs look longer. We want to create the illusion of a longer, more graceful body from head to toe.
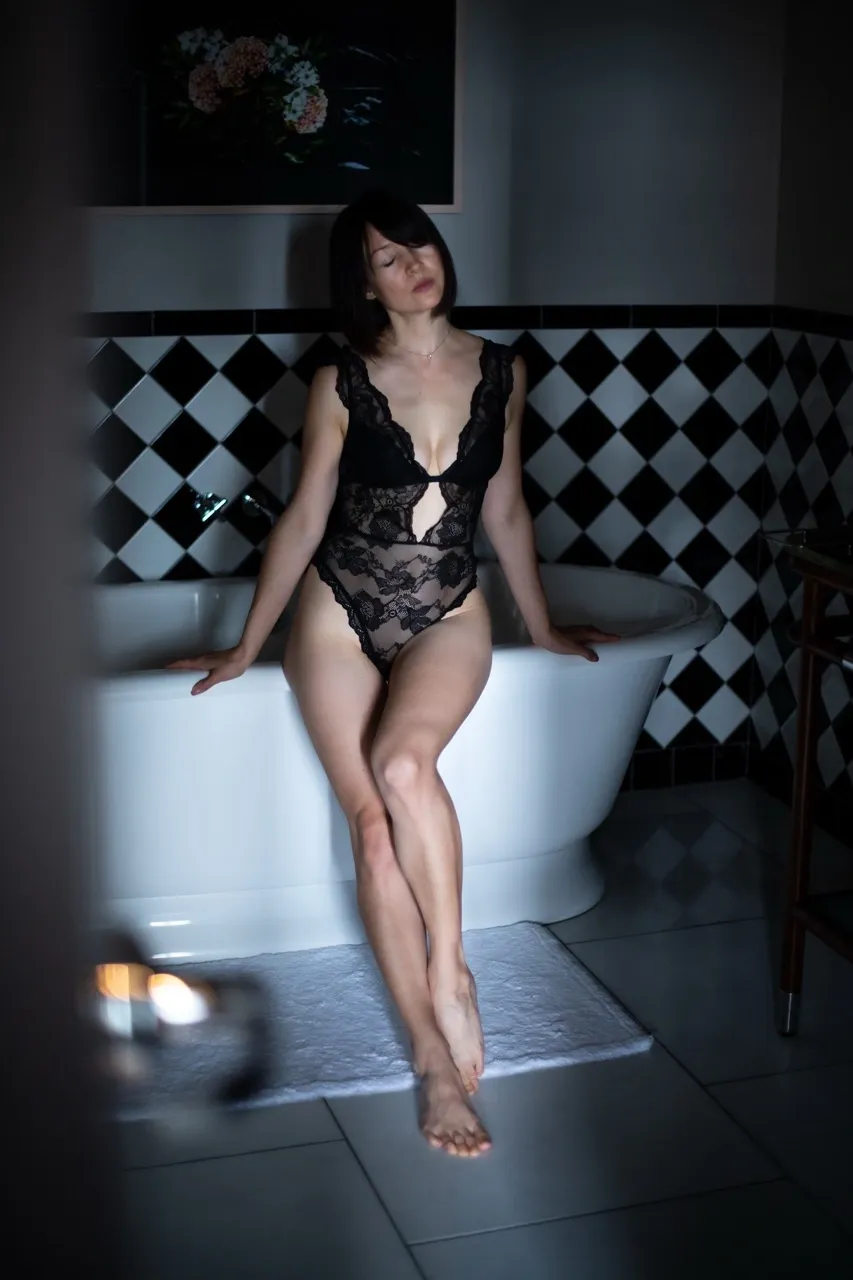
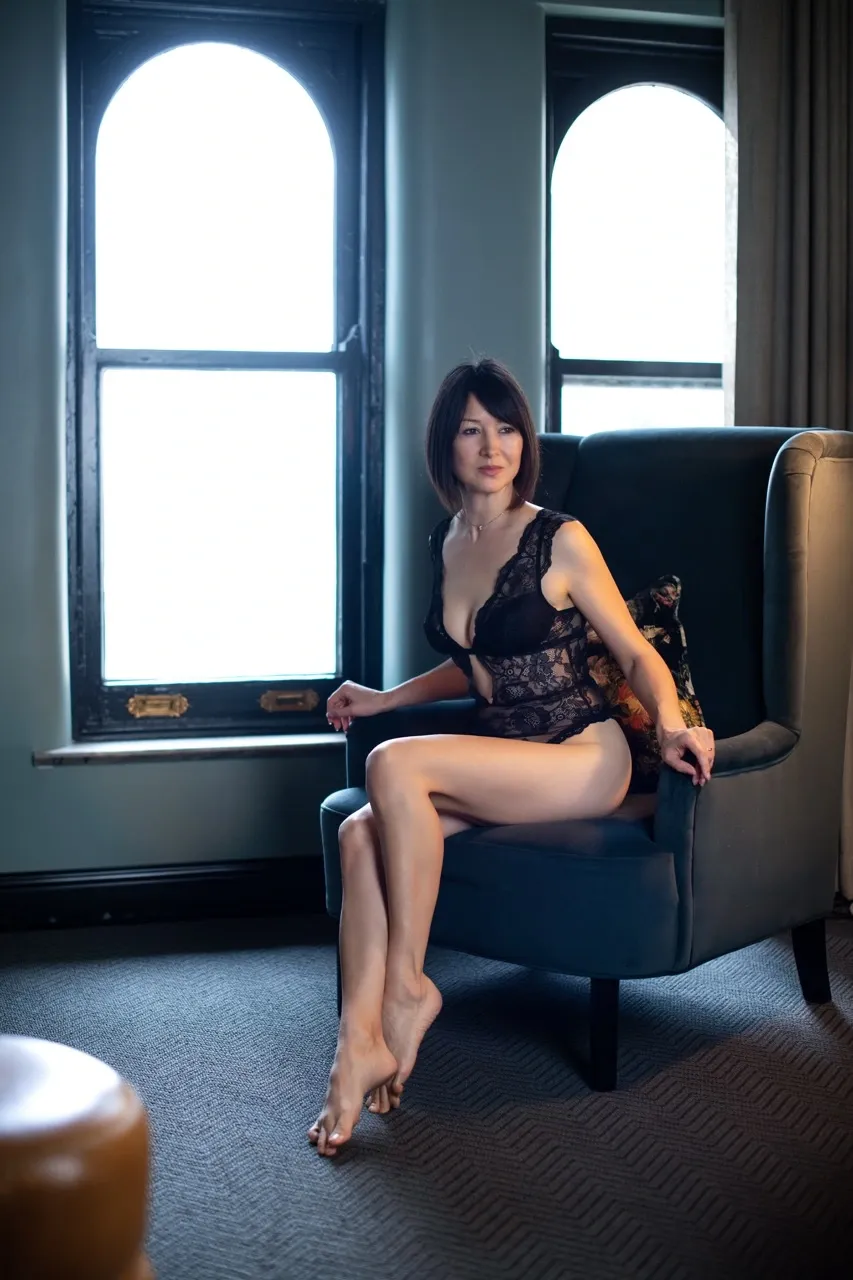
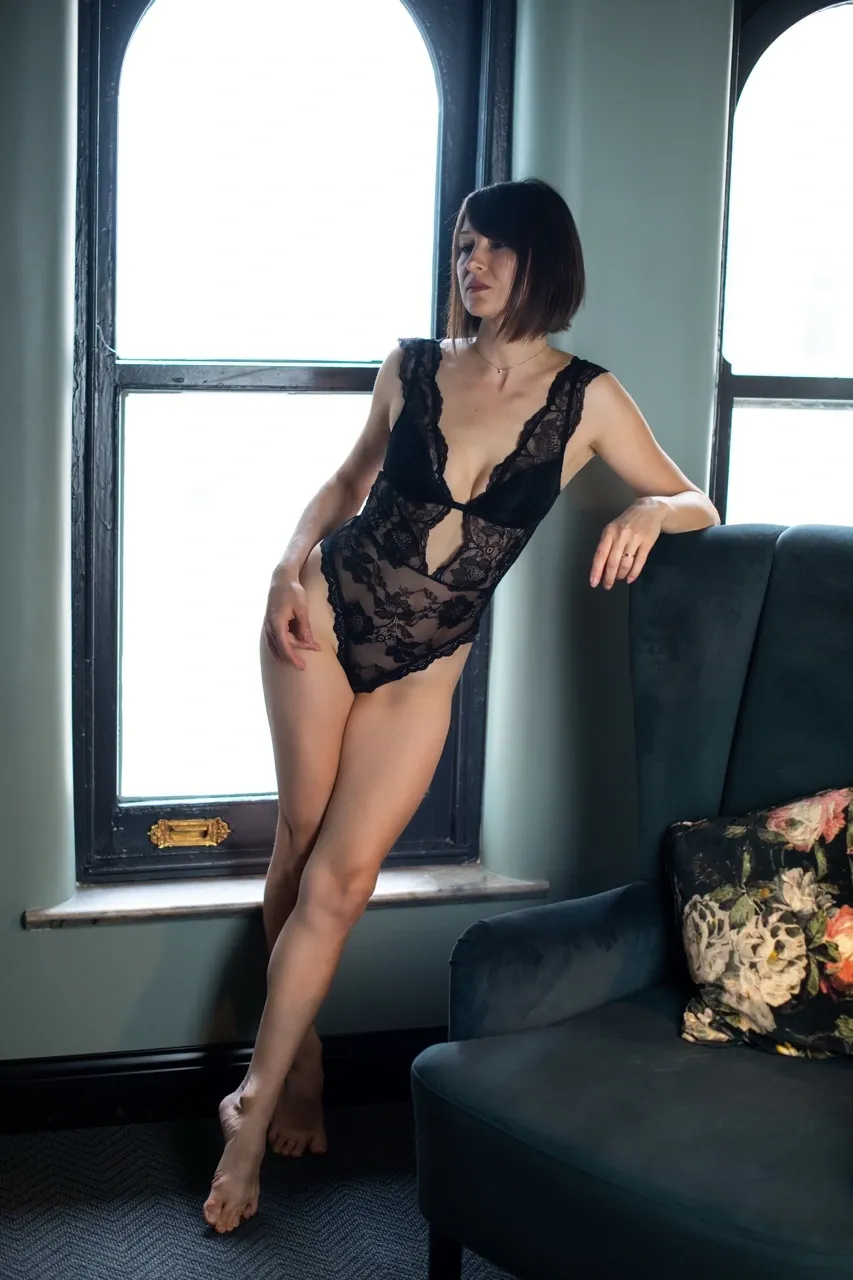
This is my favorite little trick because it makes such a noticeable difference!
Pointing the toes instantly extends the visual line of the legs, making them appear a few inches longer in photographs. When your client is sitting or lying down, ask her to gently point her toes. When she's standing, have her lift onto her tiptoes whenever the pose and her balance allow.
Think about it: when the feet are flat or flexed, the visual line of the legs stops at the ankles. But when the toes are pointed, that line continues all the way to the tips of the toes.
It's such a small adjustment, yet it can completely change the way the legs look in a photograph.
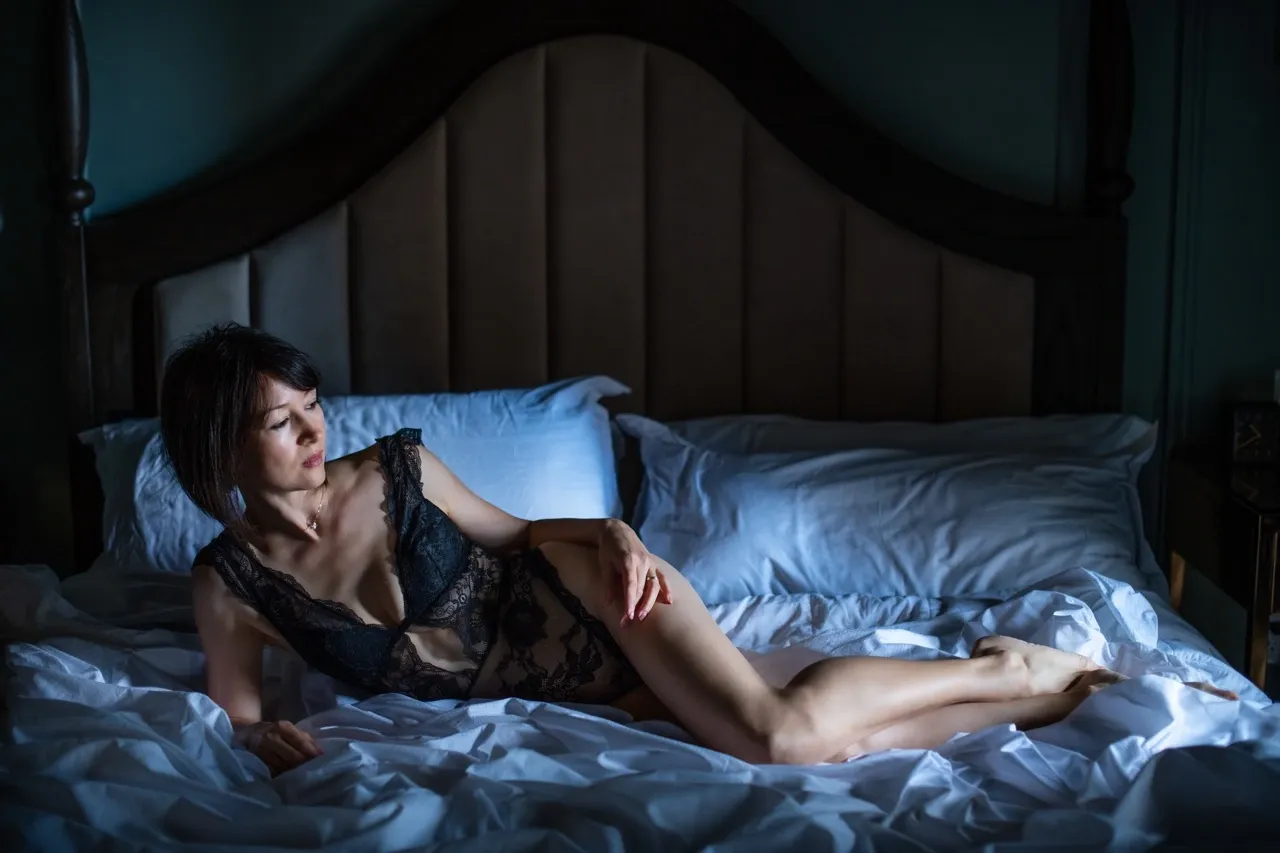
Now, while these three steps are essential, there's one more thing you need to understand: leg placement. There are generally only three or four basic ways to position the legs, and these should always be the foundation and starting point of your pose. I explained these leg placements in detail in this blog, which you can read after finishing this one.
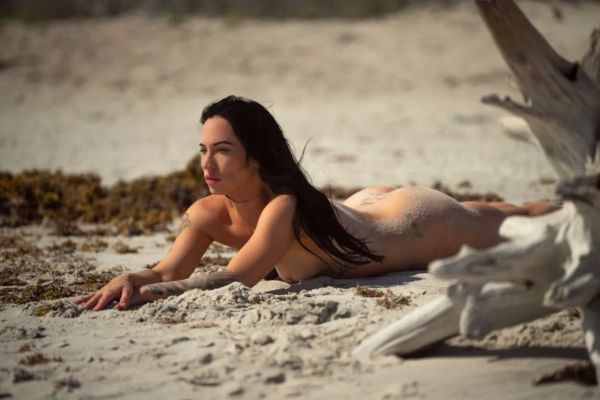
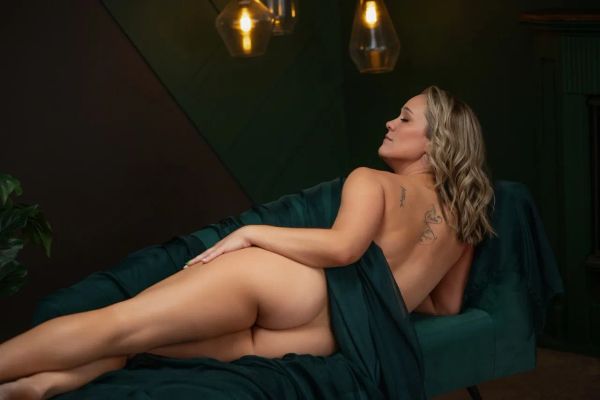
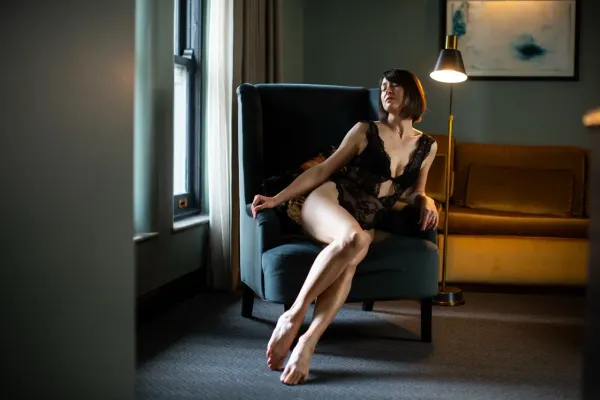
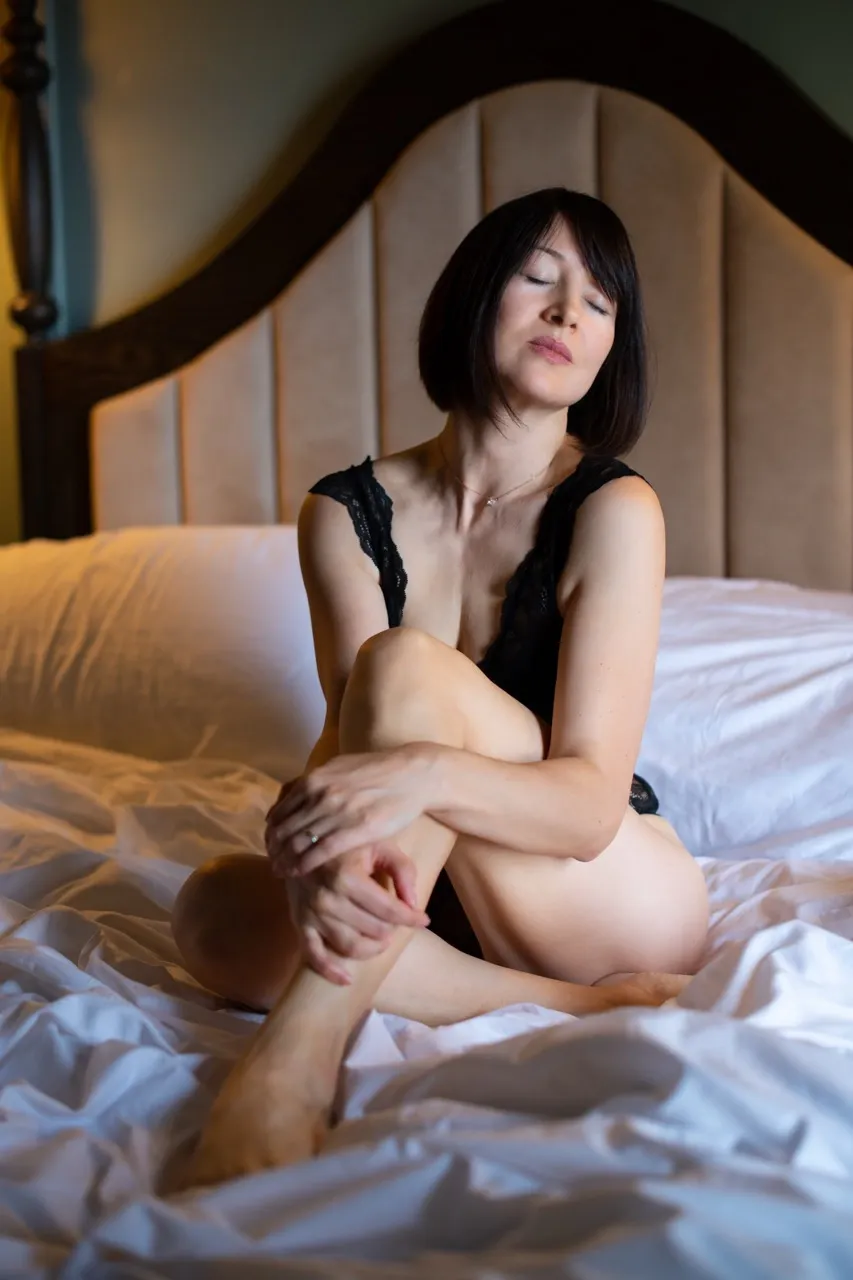
Take a look at the photographs throughout this article. I'm posing on different pieces of furniture, including a sofa, armchair, and bed. The poses may look completely different, but the foundation is almost identical. I'm applying the same three techniques: extending the legs, stretching and arching the upper body, and pointing the toes.
There's only one noticeable exception. In the photograph where I'm reclining on the bed, I bend my knees more to create beautiful triangles with my legs. But even there, I'm still following the same principles! I extend my feet farther to stretch those triangles as much as possible without losing their shape or allowing the legs to overlap awkwardly.
And that's the beauty of understanding posing fundamentals. You don't need hundreds of poses. You need to understand how the body works and how a few small adjustments can completely transform a photograph.
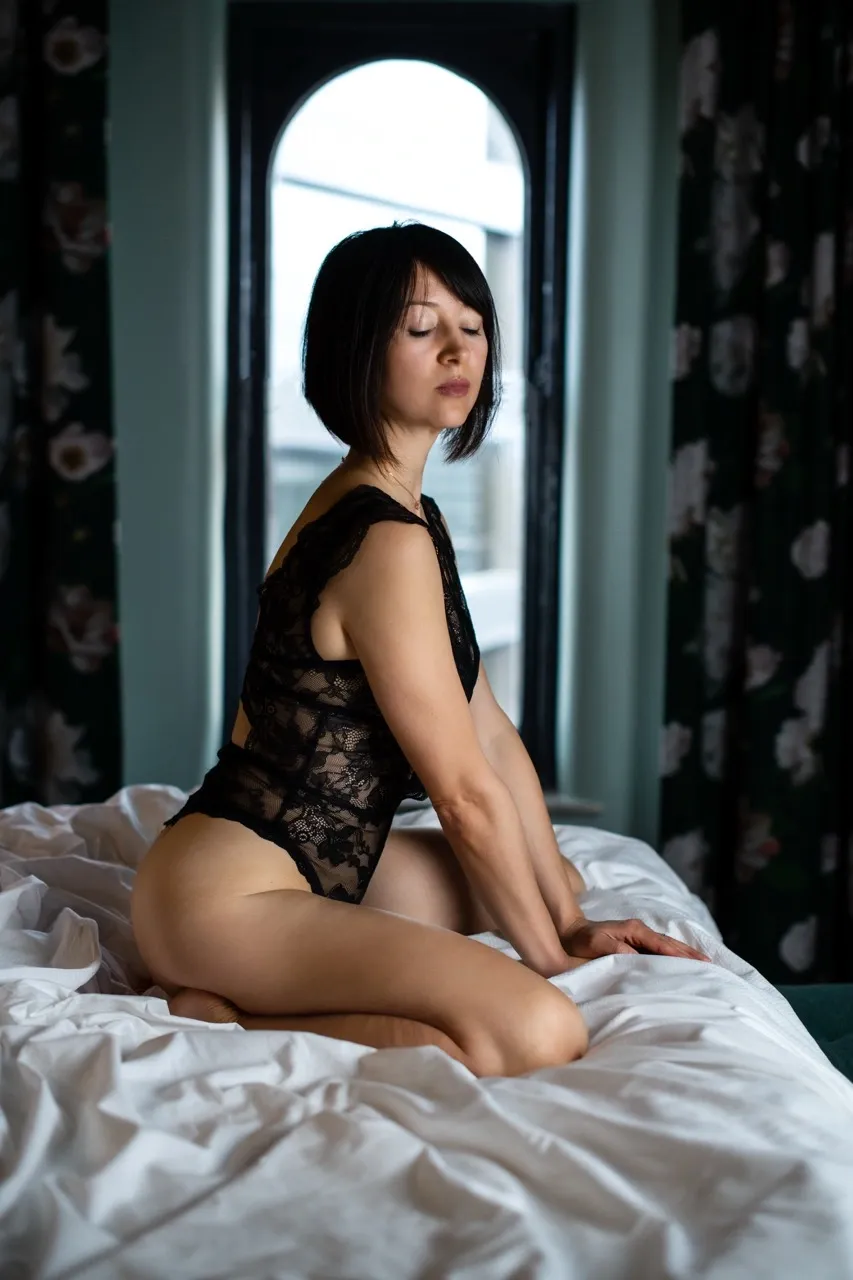
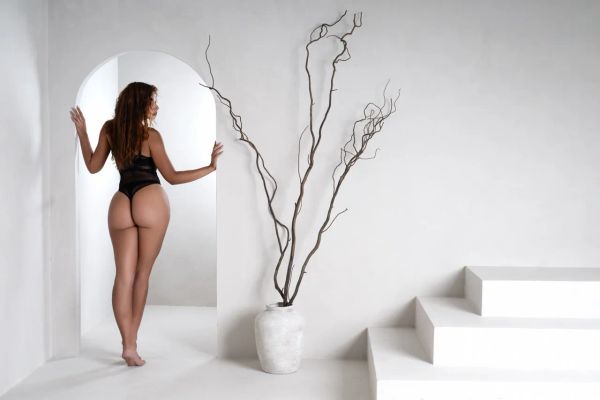
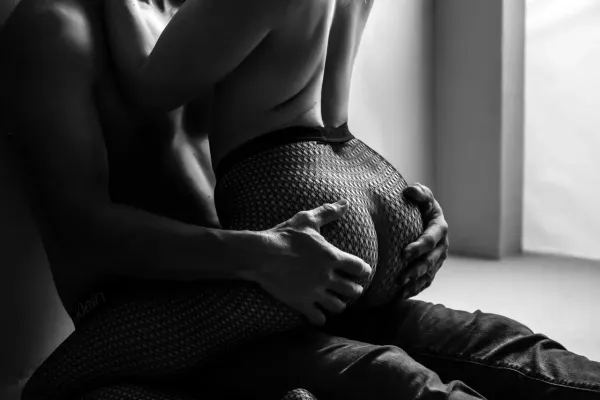
You're probably looking at this photo and thinking, "Wait a minute! The legs aren't stretched at all!" And you're absolutely right! But here's the thing: this pose isn't about the legs. It's about the curves! When the focus of your photograph is the booty, breasts, or beautiful body curves, you don't need to worry about making the legs look longer. Not every pose needs to show off everything. Know what you want to highlight, and pose accordingly. It's that simple! 😋
Making legs look longer and sexier in photos isn't about your client's height or body type. It's about knowing how to pose her! Just remember these three simple steps: stretch the legs, elongate and arch the upper body, and point the toes. Once you understand these fundamentals, you can apply them to almost any pose, on any piece of furniture, with any body type. And the best part? You'll create more beautiful full-body photographs that your clients will love and want to buy!
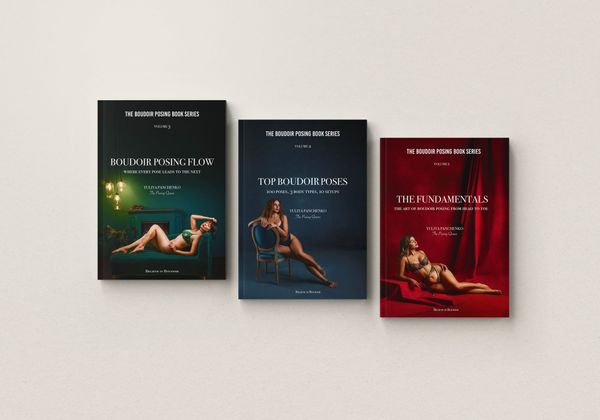
Stop memorizing hundreds of poses and start understanding how posing actually works! Our Boudoir Posing Book Series will teach you how to confidently pose your clients, create flattering body lines, and build beautiful posing flows for different furniture and body types. Spend less time guessing during your sessions and more time creating stunning photographs that sell.
Get your Boudoir Posing Books today and take your posing skills to the next level!